Automatically Set Up Continuous Scanning for Microsoft 365
The Mondoo Microsoft 365 integration lets you continuously scan your Microsoft 365 resources, such as users and applications. It finds misconfigurations and vulnerabilities that put your organization at risk. You deploy the integration once and always get the latest security assessments for new accounts and resources.
Prerequisites
Before you integrate Microsoft 365 with Mondoo, be sure you have:
-
A Mondoo account with Editor or Owner permissions for the space in which you want to add the integration.
-
An Azure account with an active subscription and permission to manage applications in Microsoft Entra ID (formerly Active Directory). Any of these Entra built-in roles include the required permissions:
In the Azure portal you can see what roles your user account has: Go to Microsoft Entra ID > Users > (your user account) > Assigned roles.
Add a new Microsoft 365 integration in the Mondoo console
Create an integration to set up continuous Mondoo scanning of your Microsoft 365 environment.
-
Access the Integrations > Add > Microsoft 365 page in one of two ways:
-
New space setup: After creating a new Mondoo account or creating a new space, the initial setup guide welcomes you. Select BROWSE INTEGRATIONS and then select Microsoft 365.
-
INTEGRATIONS page: In the side navigation bar, under INTEGRATIONS, select Add New Integration. Under SaaS, select Microsoft 365.
-
-
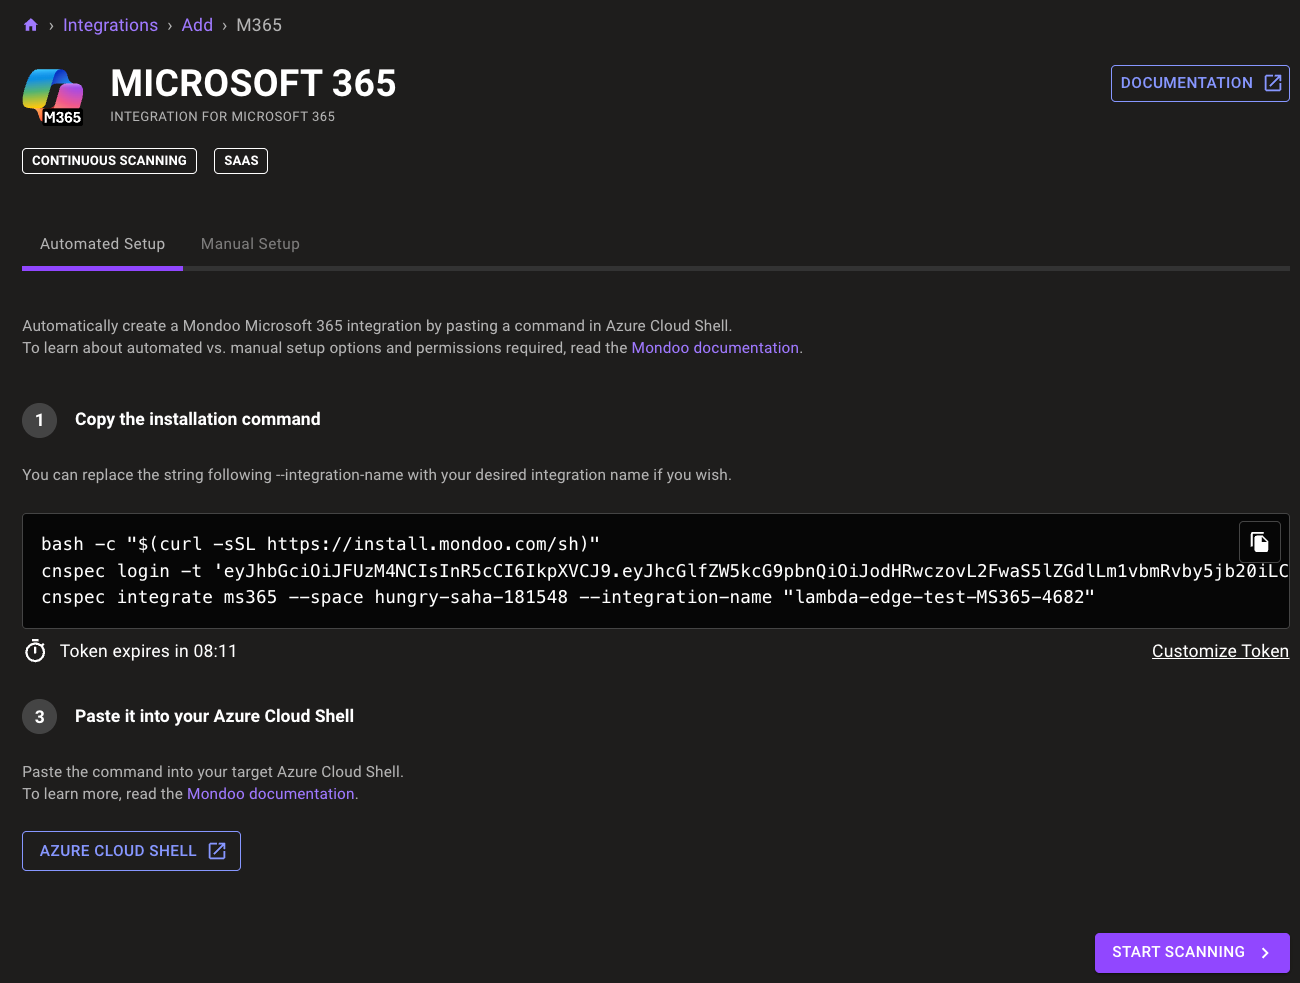
Under Copy the installation command, you see a custom command that Mondoo generates for you. Running this command in Azure Cloud Shell creates the Mondoo Microsoft 365 integration for you.
Mondoo names the integration for you. Integration names are visible in the Mondoo console and in reports. You can change the name in the command (in quotes after the --integration-name flag) or change it any time after you create the integration. The ID must be between 7 and 34 characters and can include lowercase letters, numbers, single quotes, hyphens, spaces, and exclamation points. It must start with a lowercase letter and end with a letter or number.
-
Select the copy icon in the installation command box to copy your customized command.
-
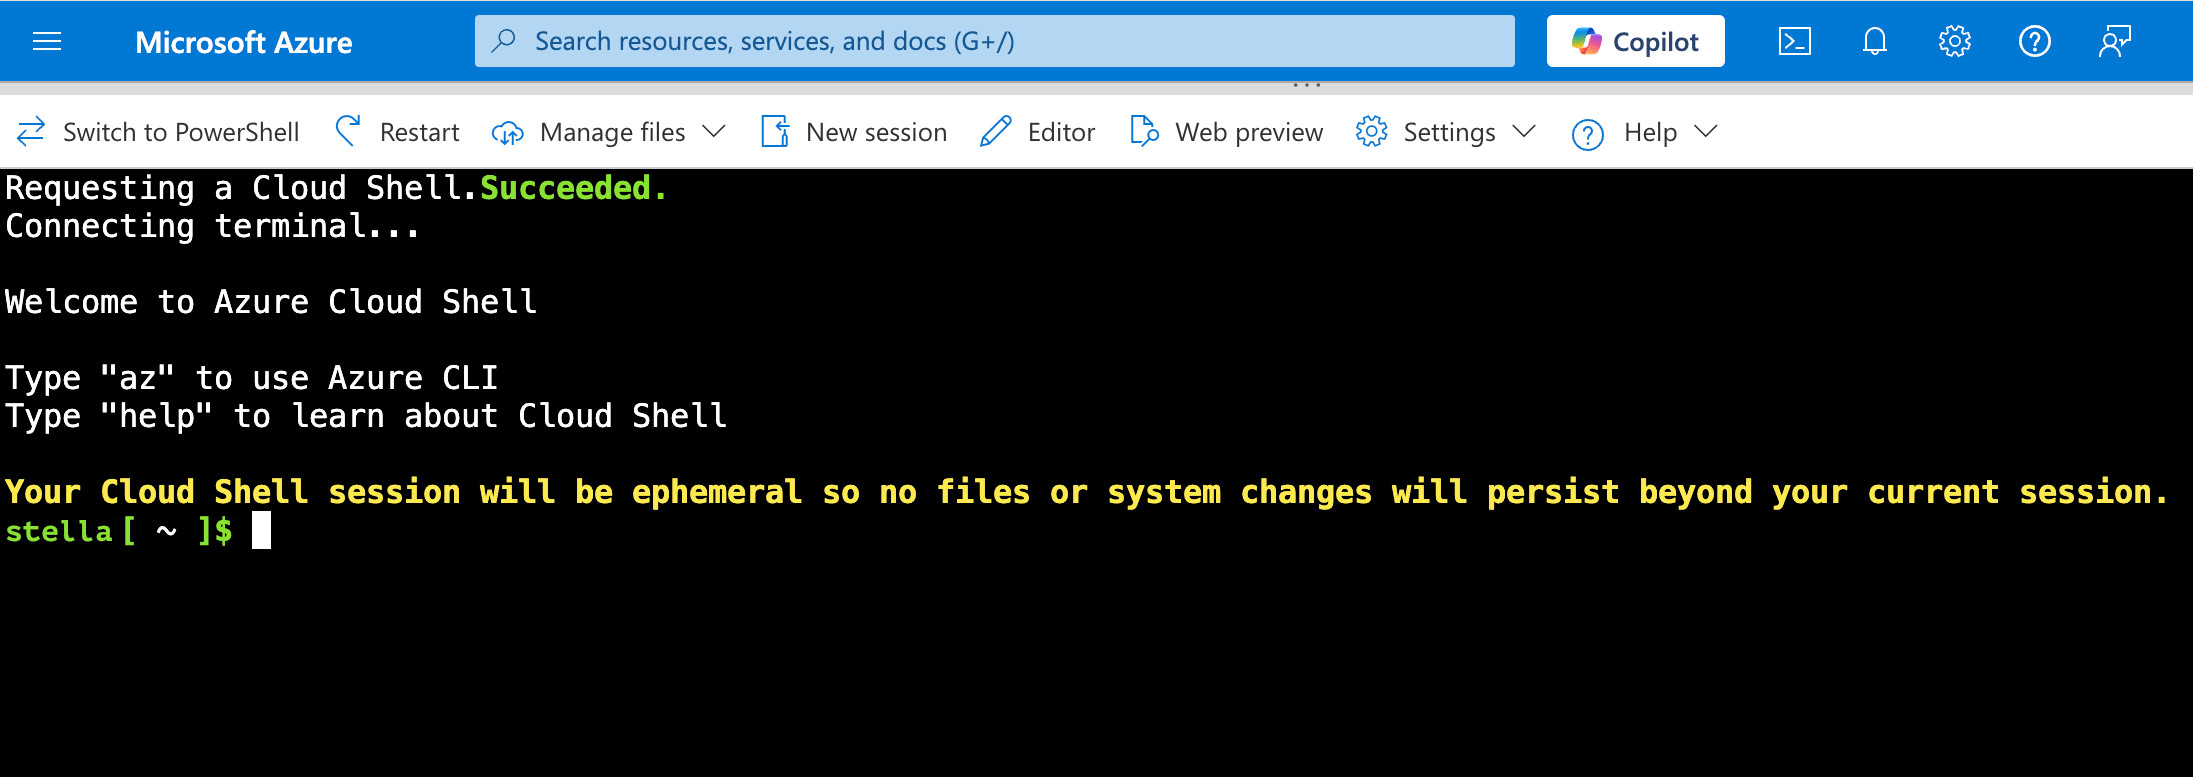
Select the AZURE CLOUD SHELL button to open Azure Cloud Shell.
-
Paste the copied command in Azure Cloud Shell and press the Enter or Return key. Respond to these prompts:

a. When you select this primary subscription, you're specifying where Mondoo creates the resources it needs to perform scans. Use the down arrow key to select the subscription you want and then press Enter.
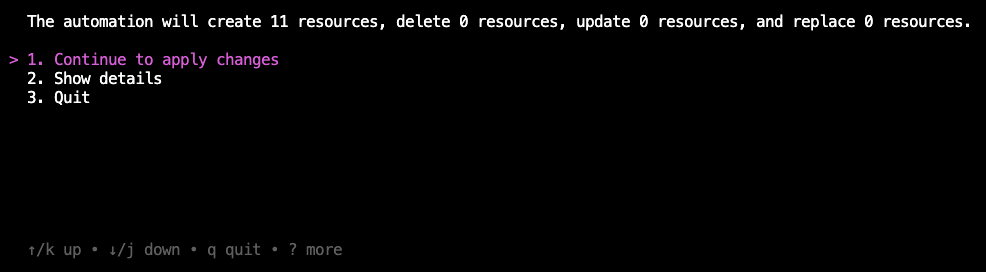
b. The Mondoo automation shows how many resources it must create so it can scan your Microsoft 365 environment. Press the down arrow key to select 2. Show details and then press Enter.
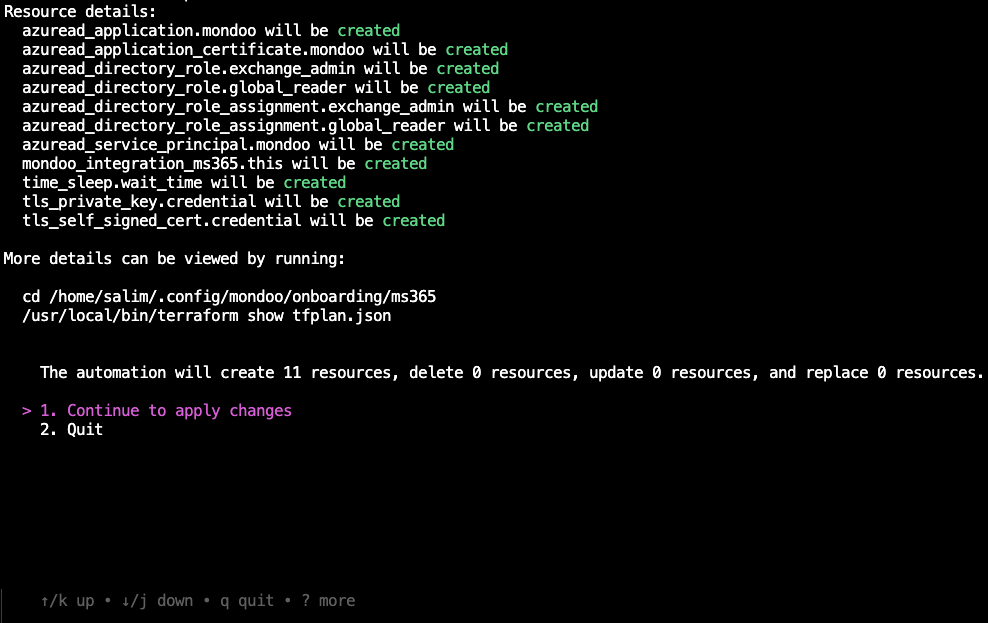
c. Review the list of resources the Mondoo automation must create so it can scan your Microsoft 365 environment. Press Enter to continue the integration setup.
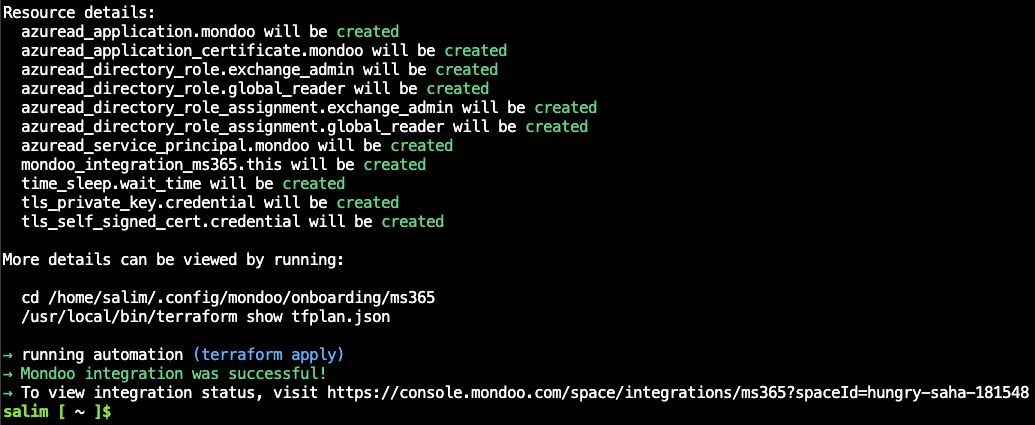
- When the Mondoo automation reports success, you're finished in Azure Cloud Shell. If you don't see the success message within 5 minutes, read the Troubleshoot section below.
-
Return to the Mondoo console and select the START SCANNING button.
-
On the Recommended Policies page, enable the policies on which you want to base assessments of your Microsoft 365 environment. To learn more, read Manage Policies.
-
Select FINALIZE SETUP.
Mondoo begins scanning your Microsoft 365 resources. When it completes, you can see results on the INVENTORY page. To learn more, read Monitor Your Infrastructure Security.
Troubleshoot
-
If the Mondoo automation pauses more than two minutes after you choose the primary subscription, press Control+C to end the process. Paste the copied command and press Enter to run it a second time.
-
If the automation fails, be sure you're logged in with an Azure user account that has the required privileges. To learn more, read the Prerequisites section above.
-
If you don't see your newly created integration in the Mondoo Console after you select policies and finalize setup, try refreshing the page in your browser.