Automatically Set Up Microsoft 365 Continuous Scanning
Use the automated setup to configure the Mondoo Microsoft 365 integration via a generated command in Azure Cloud Shell.
The automated setup runs a generated command in Azure Cloud Shell to provision everything Mondoo needs to continuously scan your Microsoft 365 environment.
Need full control of the Azure app registration, or scanning a large environment? See the manual setup instead.
Prerequisites
- Editor or Owner access to the Mondoo space
- Azure Cloud Shell access
- An Azure account with an active subscription, plus a Microsoft Entra role that can manage applications:
Check your roles in the Azure portal: Microsoft Entra ID > Users > (your account) > Assigned roles.
Add a Microsoft 365 integration
In the Mondoo App, navigate to the space where you want to add the integration. In the side navigation bar, select Integrations. In the top right, select + INSTALL. On the integrations page, find the integration you want by browsing or searching by name:
-
Under SaaS, select Microsoft 365.
-
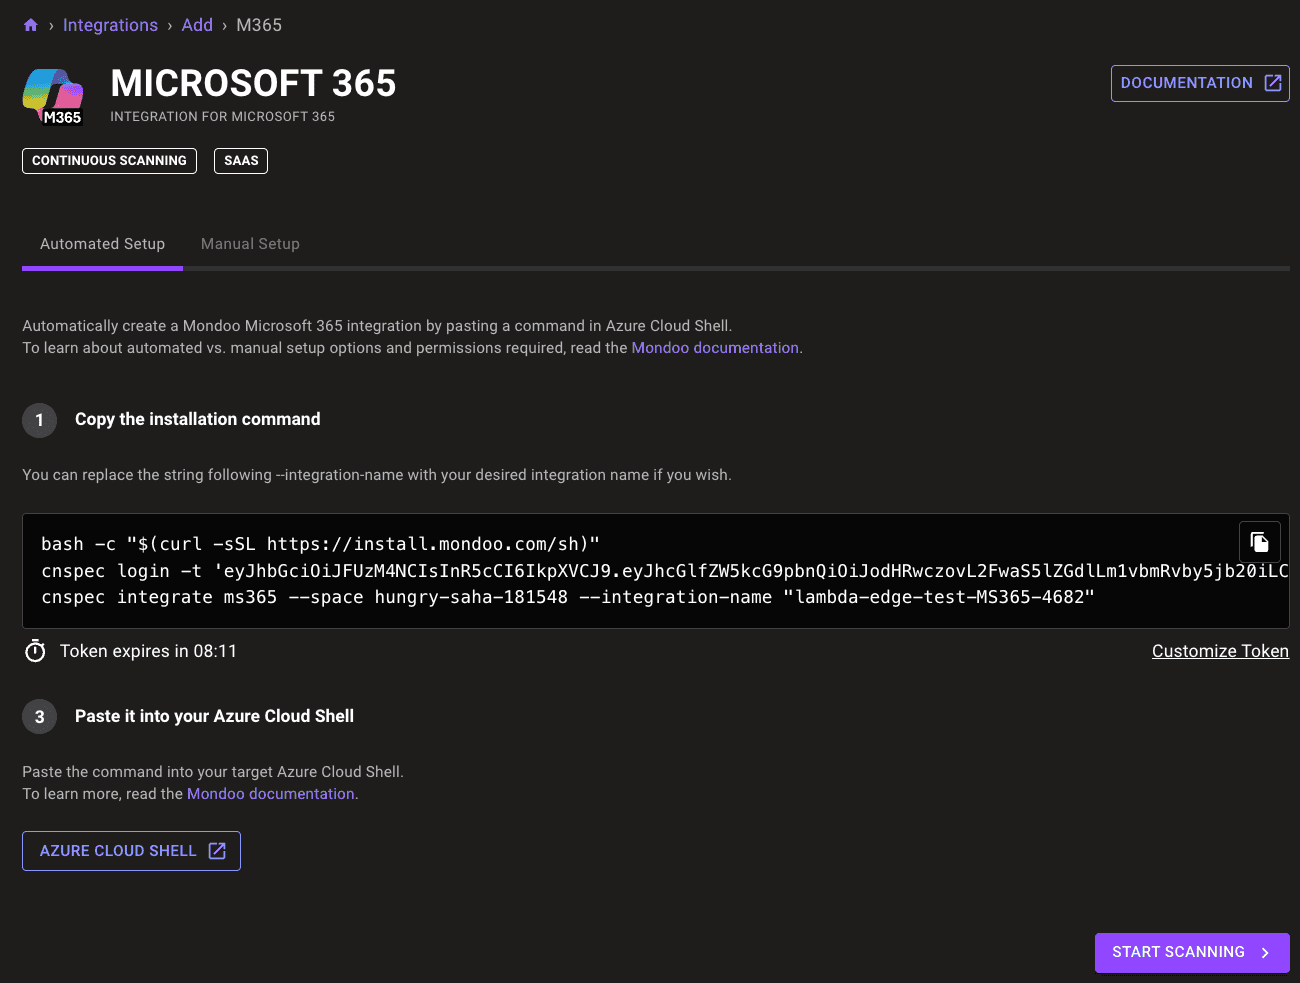
Under Copy the installation command, Mondoo generates a custom command for you. Running it in Azure Cloud Shell creates the integration.
Mondoo names the integration automatically. To use a different name, change the value after
--integration-namein the command, or rename later in the Mondoo App. The name must be 7–34 characters and may include lowercase letters, numbers, single quotes, hyphens, spaces, and exclamation points; it must start with a lowercase letter and end with a letter or number. -
Select the copy icon to copy the command.
-
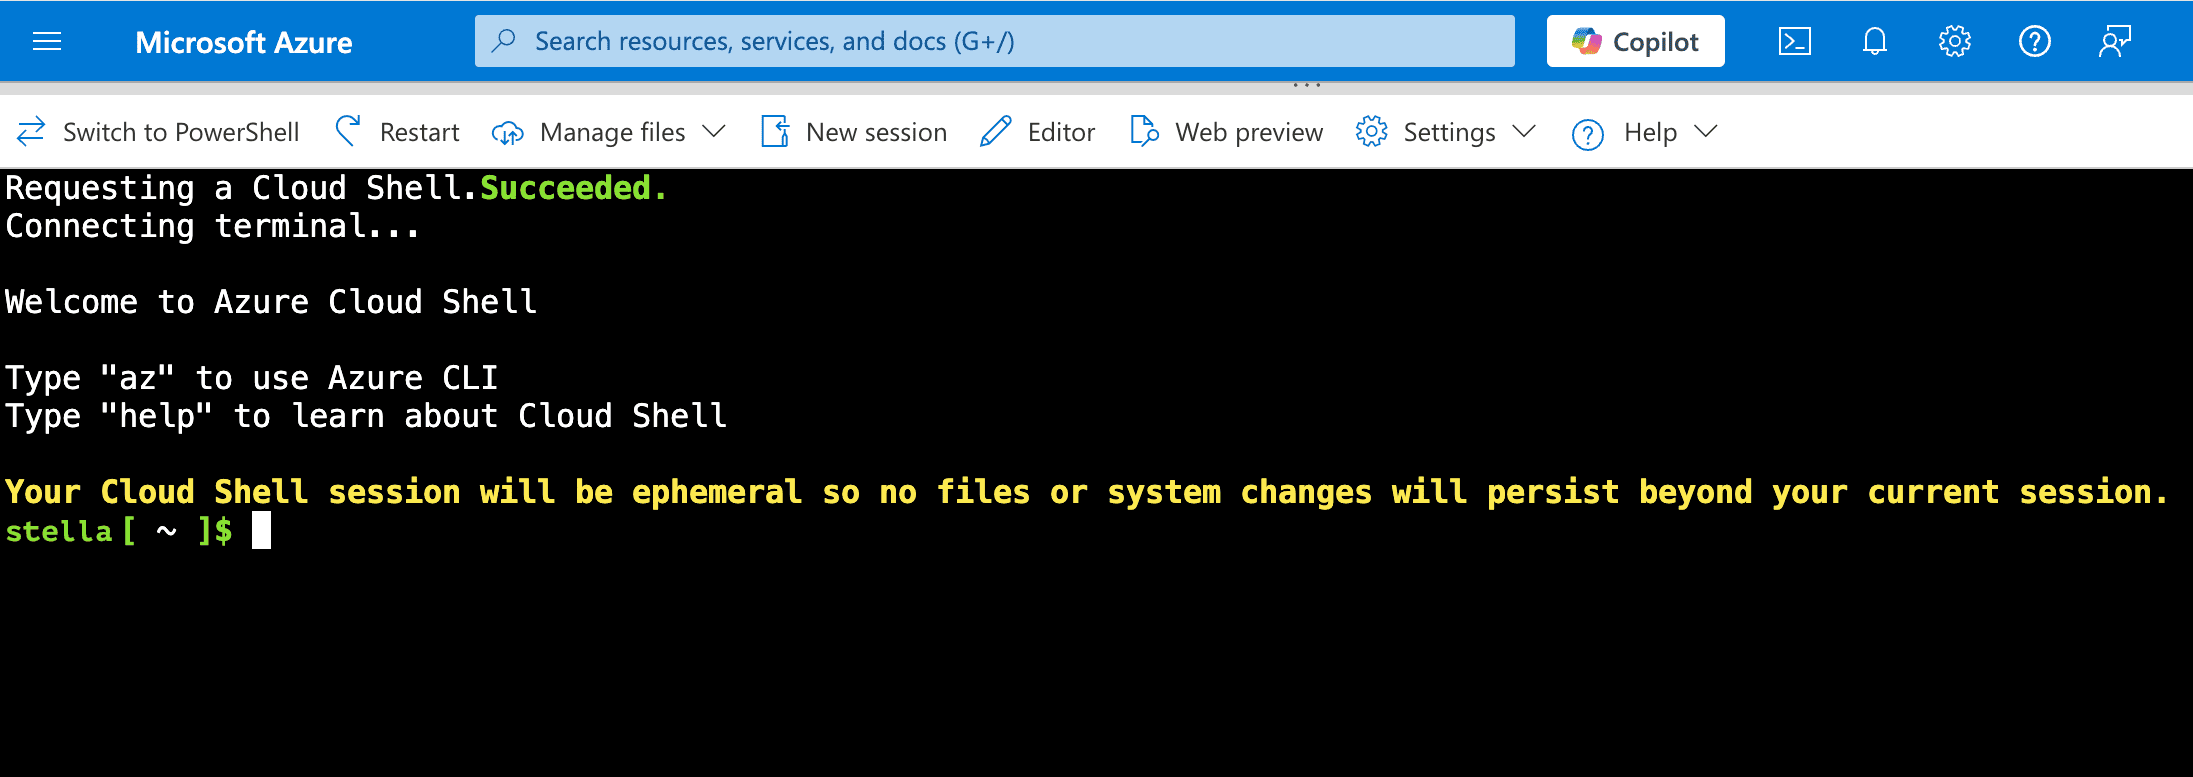
Select AZURE CLOUD SHELL to open Azure Cloud Shell, paste the command, and press Enter.
-
Respond to the prompts:
a. Primary subscription. This is where Mondoo creates the resources it needs, not which subscription it scans. Use arrow keys to choose, then press Enter.

b. Show details. Pick 2. Show details and press Enter to review the resources the automation will create.
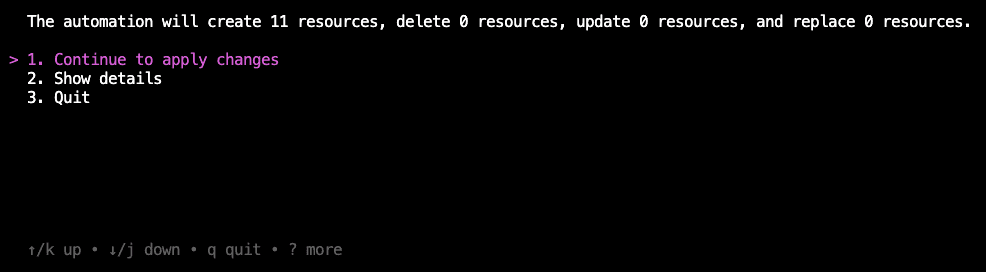
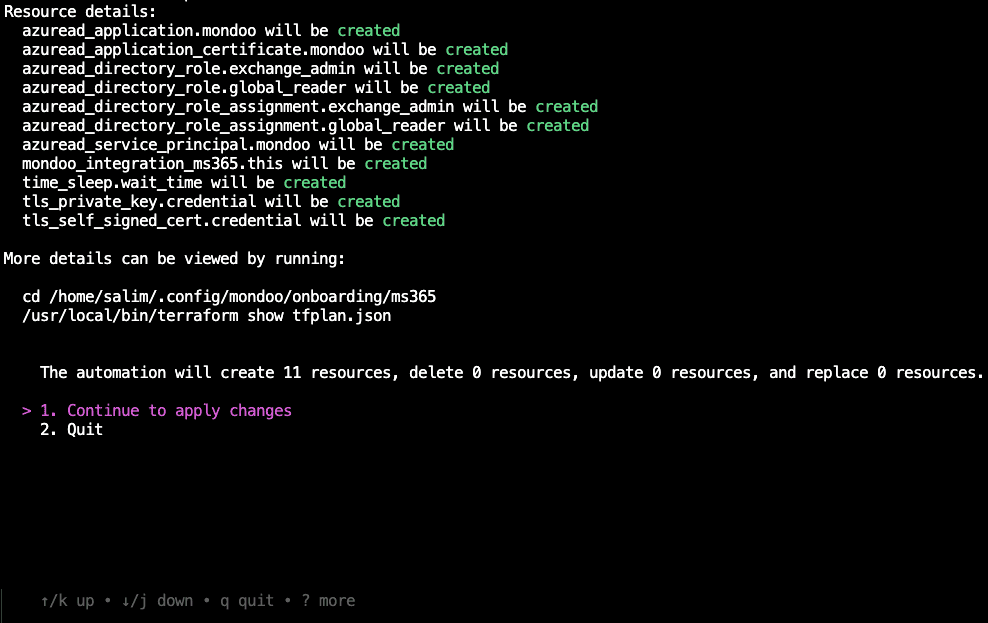
c. Confirm. Press Enter to continue. When the automation reports success, you're done in Cloud Shell.
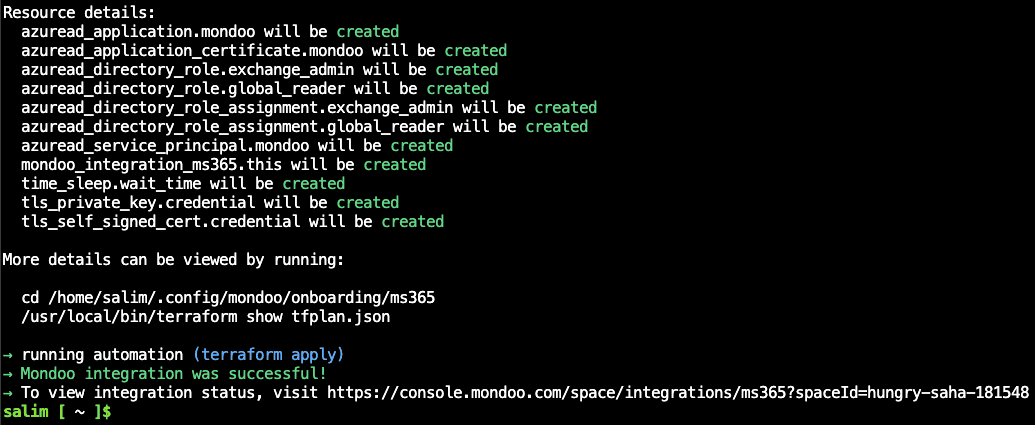
If the success message doesn't appear within 5 minutes, see Troubleshoot below.
-
Return to the Mondoo App and select START SCANNING.
On the Recommended Policies page, enable the policies you want Mondoo to score this integration against. To learn how policies work, read Manage Policies.
- Select FINALIZE SETUP.
Troubleshoot
- Automation pauses for more than two minutes after you choose the primary subscription. Press Ctrl+C to end, then paste the command again to re-run it.
- Automation fails. Confirm you're logged in to Azure with one of the required roles listed above.
- Integration not visible in the Mondoo App after finalizing setup. Refresh the browser.
Renew the application certificate
The certificate Mondoo uses to authenticate has a 1-year default lifetime. When it expires, the integration stops working. Renew with the Azure CLI.
-
Note the application ID of the app registration Mondoo created.
-
In Azure Cloud Shell, run (substituting your application ID):
az ad app credential reset --id XXXXXXXX-XXXX-XXXX-XXXX-XXXXXXXX --create-cert -
Download the certificate from Cloud Shell's Manage files button.
-
In the Mondoo App, navigate to Integrations > Microsoft 365 > your M365 integration and edit it.
-
Upload the new certificate in the field shown:

-
Save the updated configuration.