Manage Mondoo Access with Microsoft Entra ID and SCIM
Integrate Mondoo with Microsoft Entra ID with the System for Cross-domain Identity Management 2.0 (SCIM 2.0) protocol so you can:
- Enable users to log into Mondoo with their Entra ID account
- Control who has access to Mondoo using Entra ID
- Centrally manage users with Entra ID
Configuring single sign-on allows Entra to handle authentication (verifying that a user is who they say they are) for Mondoo. Configuring user management allows you to use Entra user groups to authorize access to Mondoo.
You can choose to set up Entra single sign-on but not Okta user management. However, you can't use Entra for Mondoo user management without first setting up Entra single sign-on.
Prerequisites
To configure the integration, you need:
-
Administrator access to your Entra ID account
-
Editor or Owner access to a privately hosted Mondoo Enterprise account
Configure Entra single sign-on for Mondoo (using OIDC)
To allow users to log into the Mondoo Console with their Entra-provided credentials, you create an Entra app registration for Mondoo. This implementation relies on OpenID Connect (OIDC) to authenticate users.
-
Log into the Microsoft Entra admin center.
-
In the left menu, select App registrations and, in the toolbar, select + New application.
-
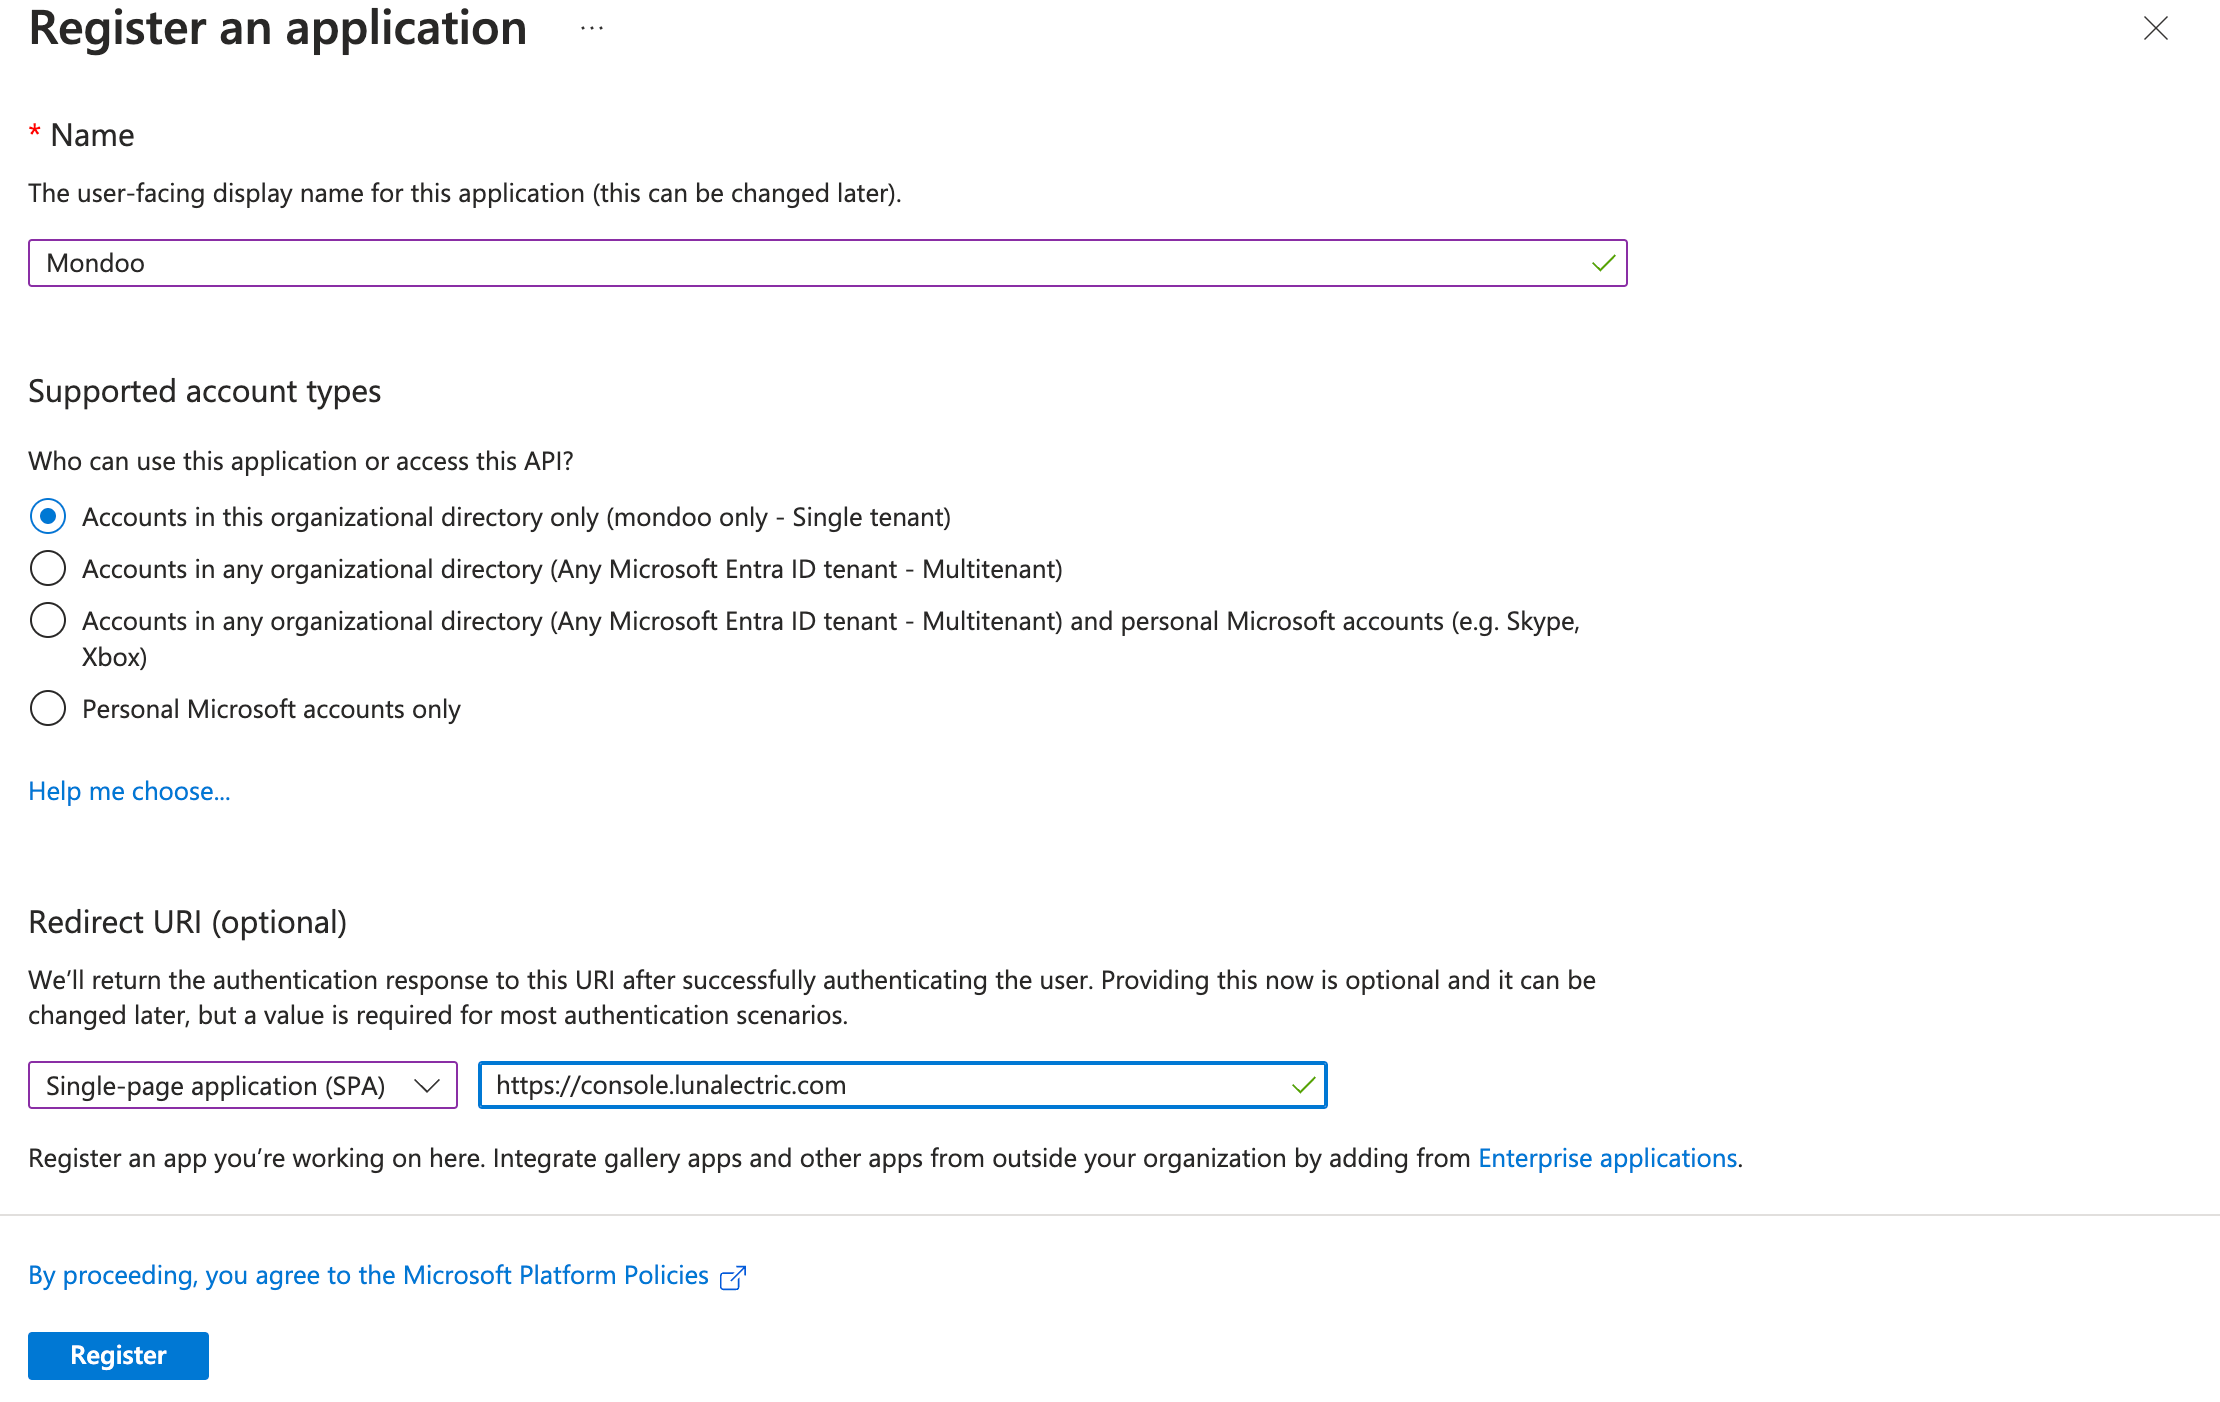
In the Name box, enter a name for the app registration, such as Mondoo.
-
Under Supported account types, leave Accounts in this organizational directory only (Mondoo only - Single tenant) selected.
-
Under Redirect URI (Optional), select Single-page Application (SPA) and type the URL that you use to access the Mondoo Console for your Mondoo Enterprise instance, such as
https://console.YOUR-COMPANY.mondoo.com. -
Select the Register button.
-
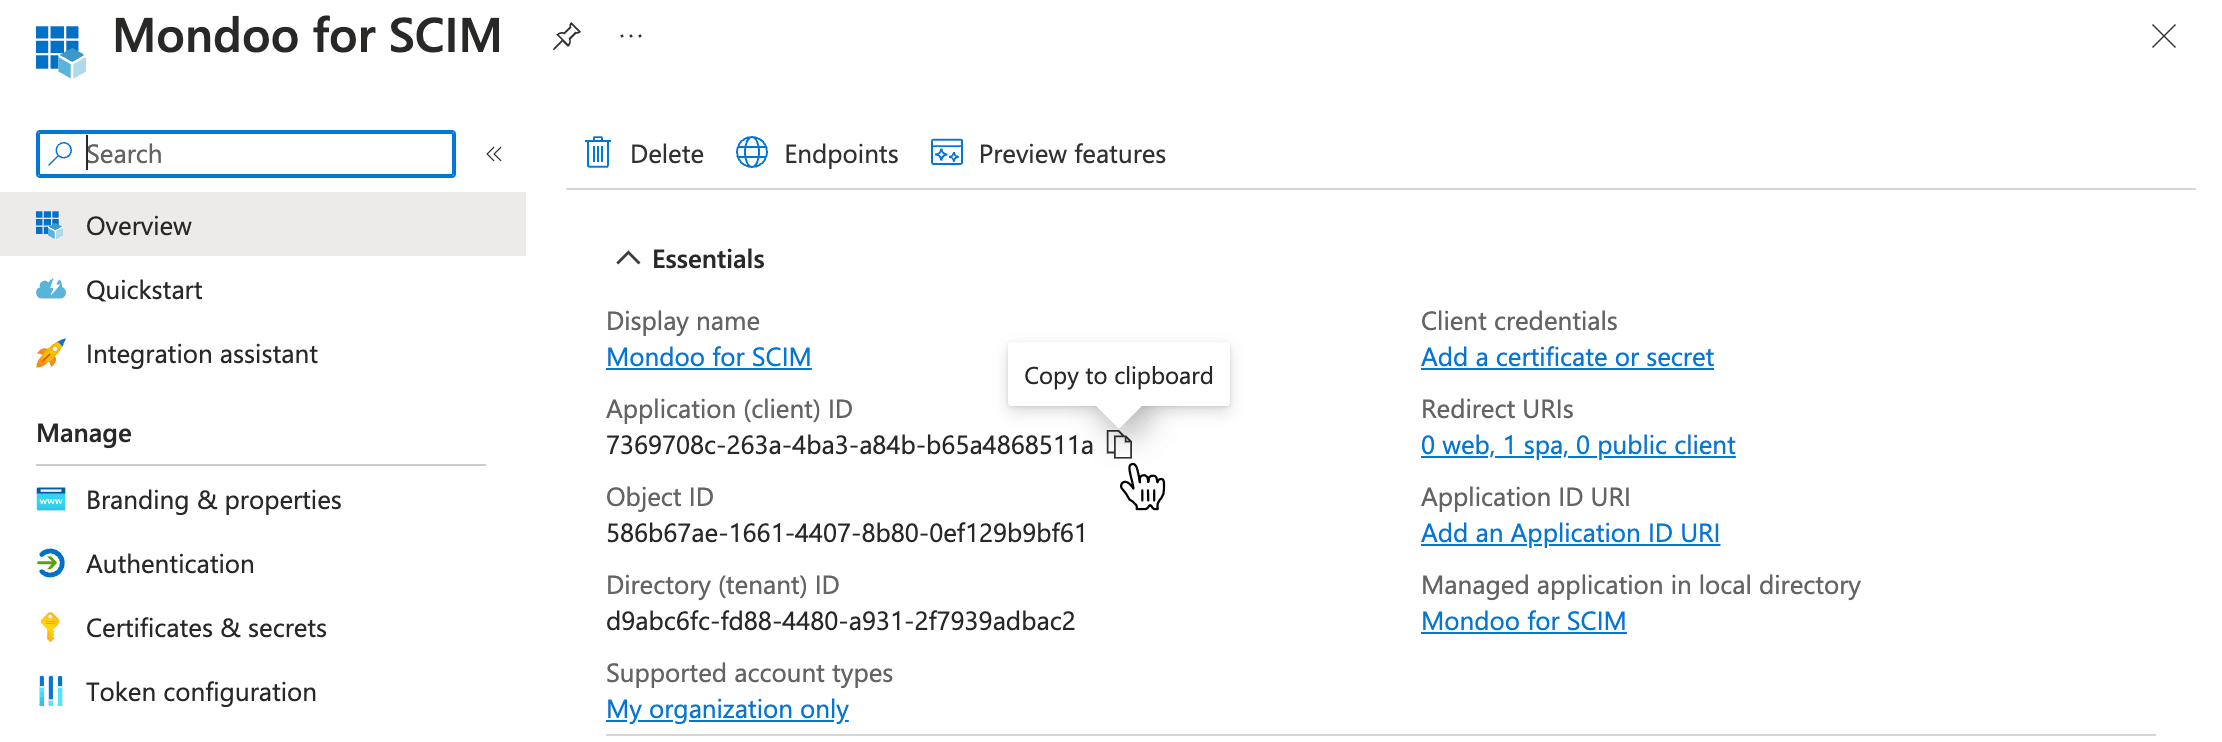
Copy the Application (client) ID and share it with your Mondoo representative.
-
In the toolbar, select Endpoints.
-
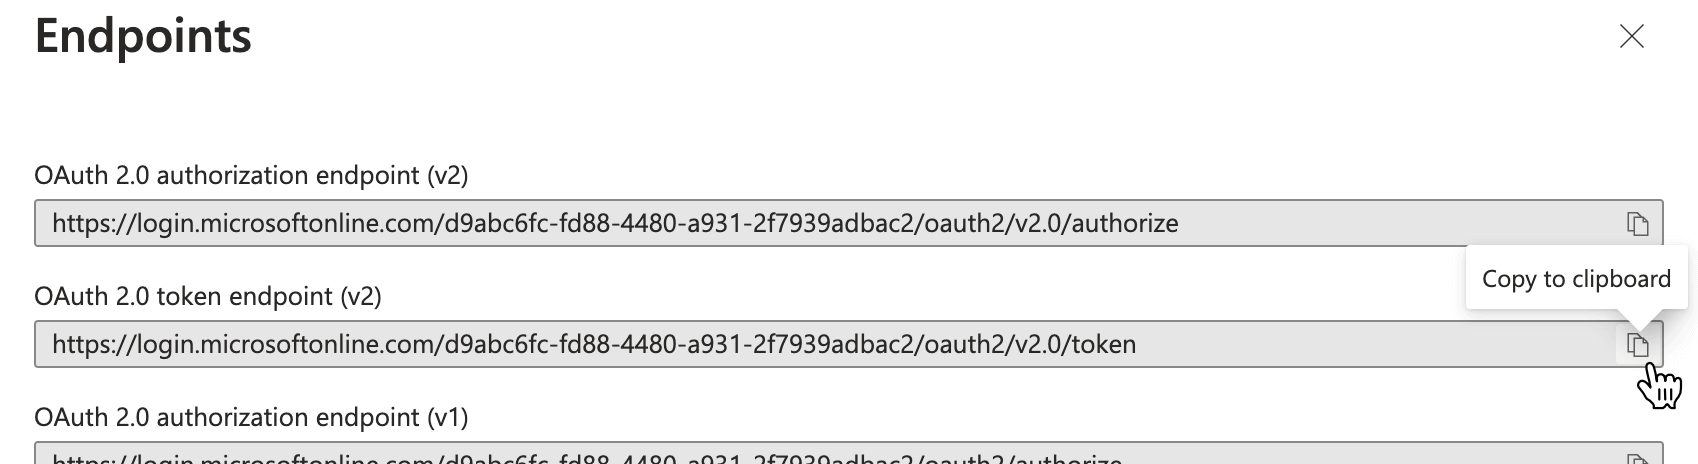
Copy the OAuth 2.0 token endpoint (v2) and share it with your Mondoo representative.
The Mondoo team uses the Application (client) ID and OAuth 2.0 token endpoint (v2) to enable Entra single sign-on for your Mondoo Enterprise account and prepare your instance for SCIM compatibility.
Manage Mondoo users with Entra (using SCIM)
To centralize user management for your organization, give your Entra account full control over who can access organizations and spaces and perform different tasks in Mondoo. This implementation relies on the System for Cross-domain Identity Management (SCIM) protocol. Mondoo's SCIM support lets you give Entra groups access to organizations and spaces in your Mondoo Enterprise instance.
Before you set up Entra user management for Mondoo, you must first configure Entra single sign-on by following the steps above.
Step A: Create a new Mondoo API token
-
In the Mondoo Console, create a new API token with edit permission to your Mondoo organization..
-
Copy the generated token and save it. You need it for many of the steps below.
Step B: Identify your SCIM base URL
Determine your SCIM base URL using the URL you use to access the Mondoo Console: Replace console with api and add /scim/v2. So if your Mondoo Console URL is:
https://console.YOUR-COMPANY-NAME.mondoo.com
then your SCIM base URL is:
https://api.YOUR-COMPANY-NAME.mondoo.com/scim/v2
Step C: Verify that SCIM is enabled for your Mondoo instance
Confirm that the Mondoo team has successfully enabled SCIM support for your Mondoo Enterprise instance.
-
For
YOUR-API-TOKEN, substitute the token you created in the step above. -
For
YOUR-SCIM-BASE-URL, substitute the SCIM base URL you identified in the step above.
$ TOKEN='YOUR-API-TOKEN'
$ curl -i -X GET -H "authorization: Bearer $TOKEN" YOUR-SCIM-BASE-URL/Users
HTTP/2 200
content-type: application/scim+json
vary: Origin
vary: Accept-Encoding
date: Thu, 16 May 2024 21:09:36 GMT
content-length: 130
via: 1.1 google
alt-svc: h3=":443"; ma=2592000,h3-29=":443"; ma=2592000

{"schemas":["urn:ietf:params:scim:api:messages:2.0:ListResponse"],"totalResults":0,"itemsPerPage":0,"startIndex":0,"Resources":[]}
If this test is unsuccessful, contact your Mondoo representative.
Step D: Create a SCIM application in Entra
-
Log into the Microsoft Entra admin center.
-
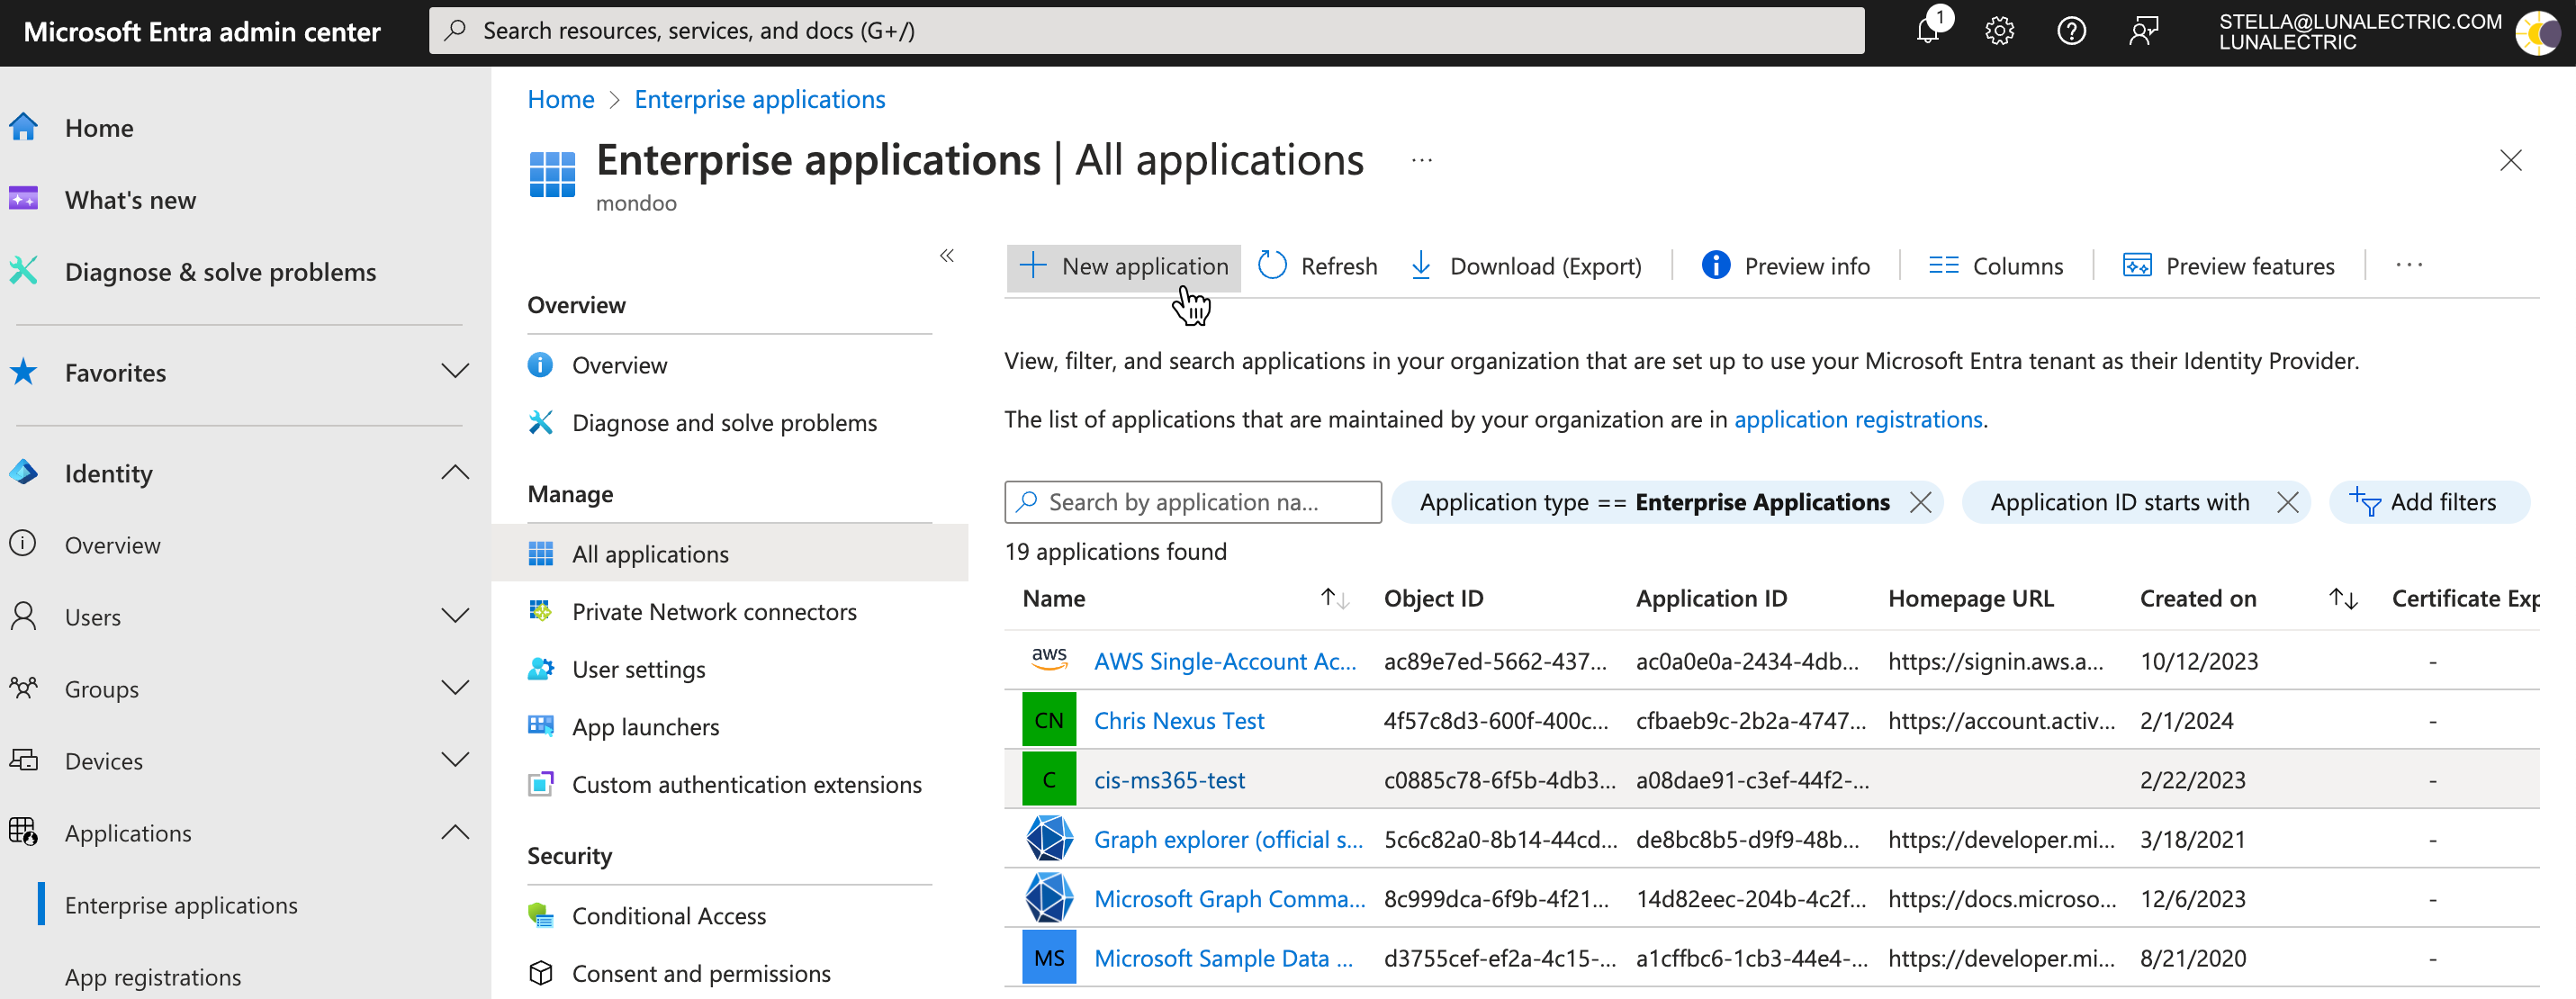
In the left menu, under Applications, select Enterprise Applications.
-
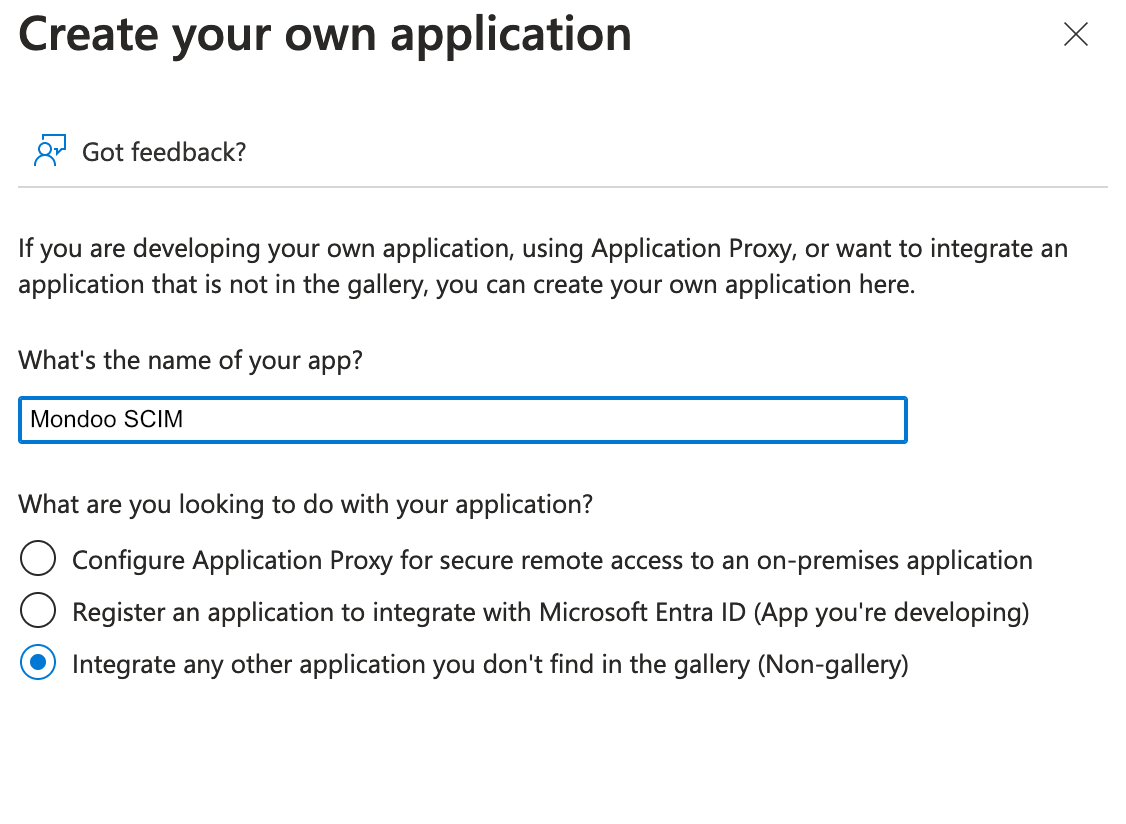
In the toolbar, select + New Application and then select Create your own application.
-
Type the name
Mondoo SCIM, leave Integrate any other application you don't find in the gallery (Non-gallery) selected, and select the Next button. -
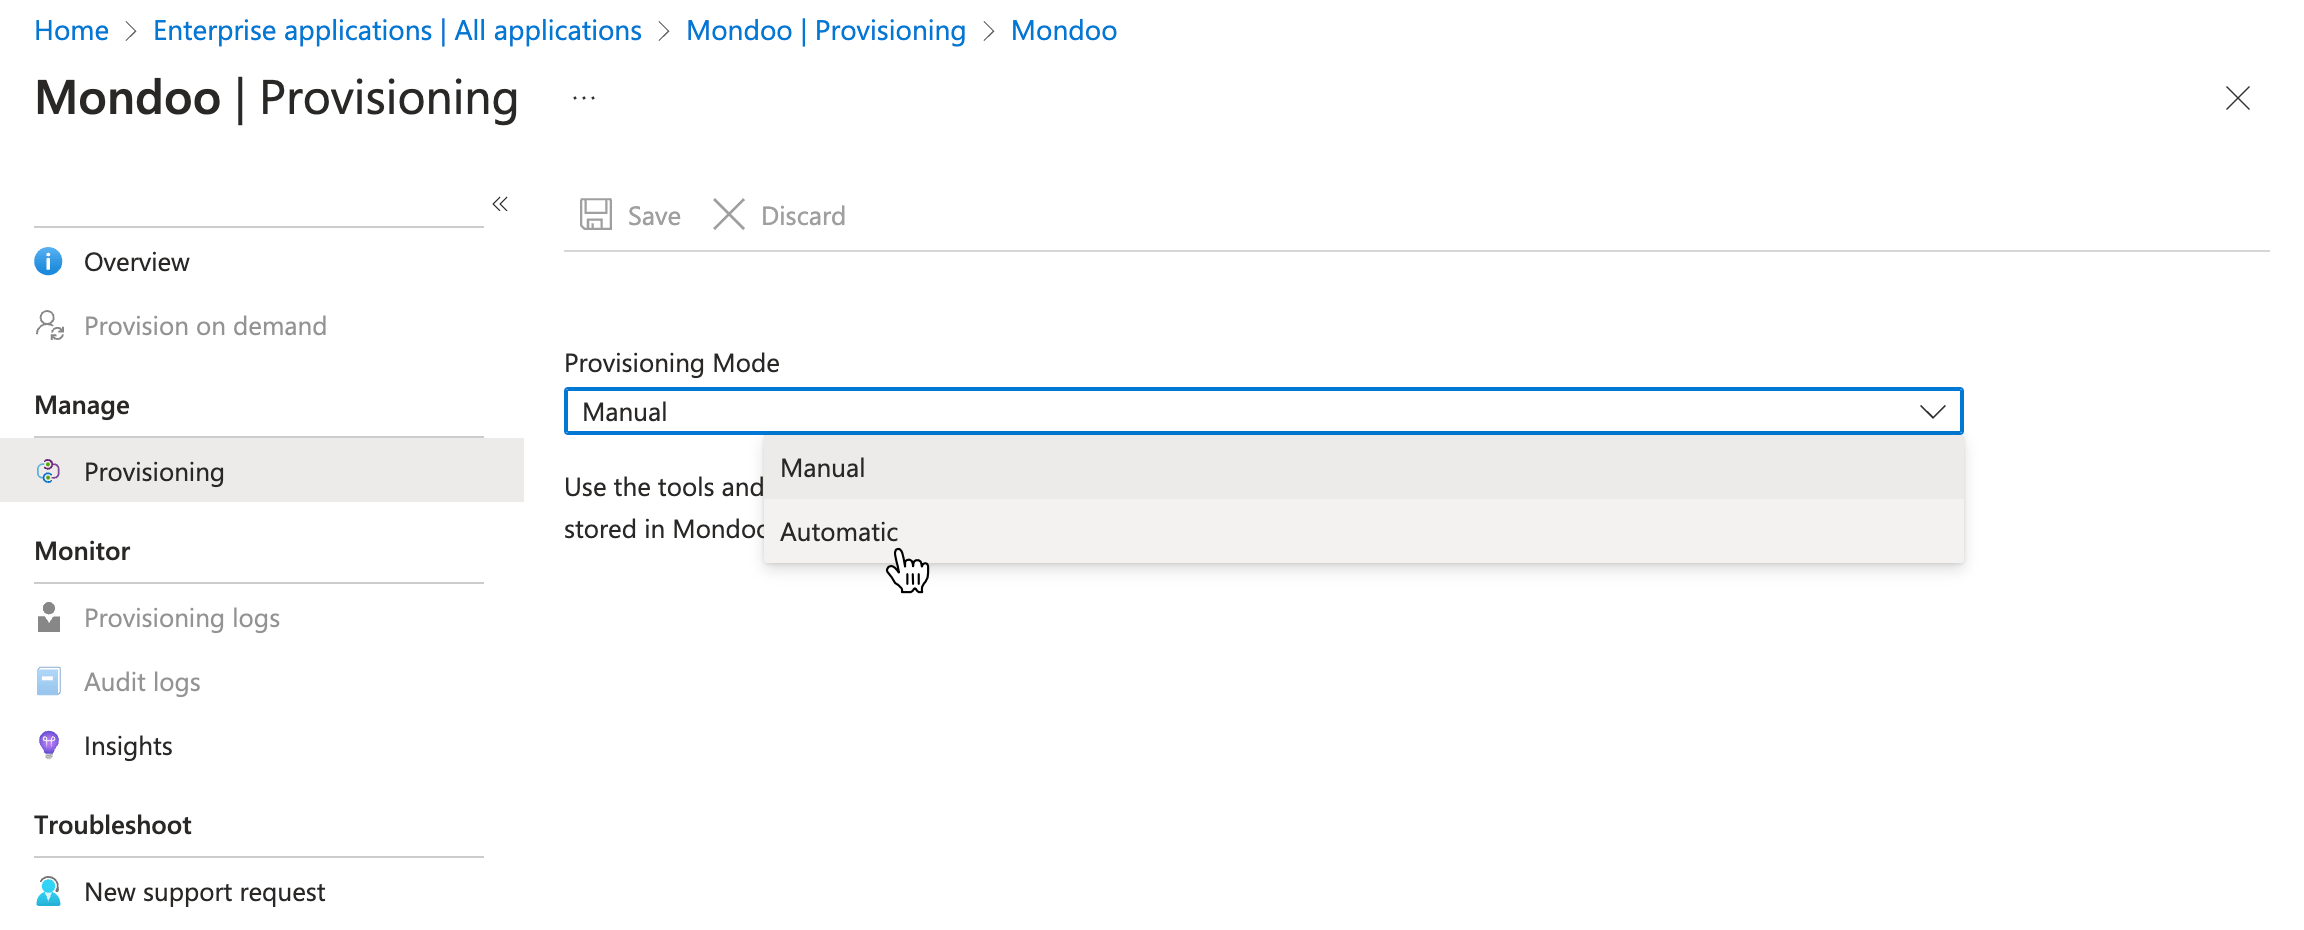
In the left menu, select Provisioning and again in the left menu select Provisioning.
-
In the Provisioning Mode box, select Automatic.
-
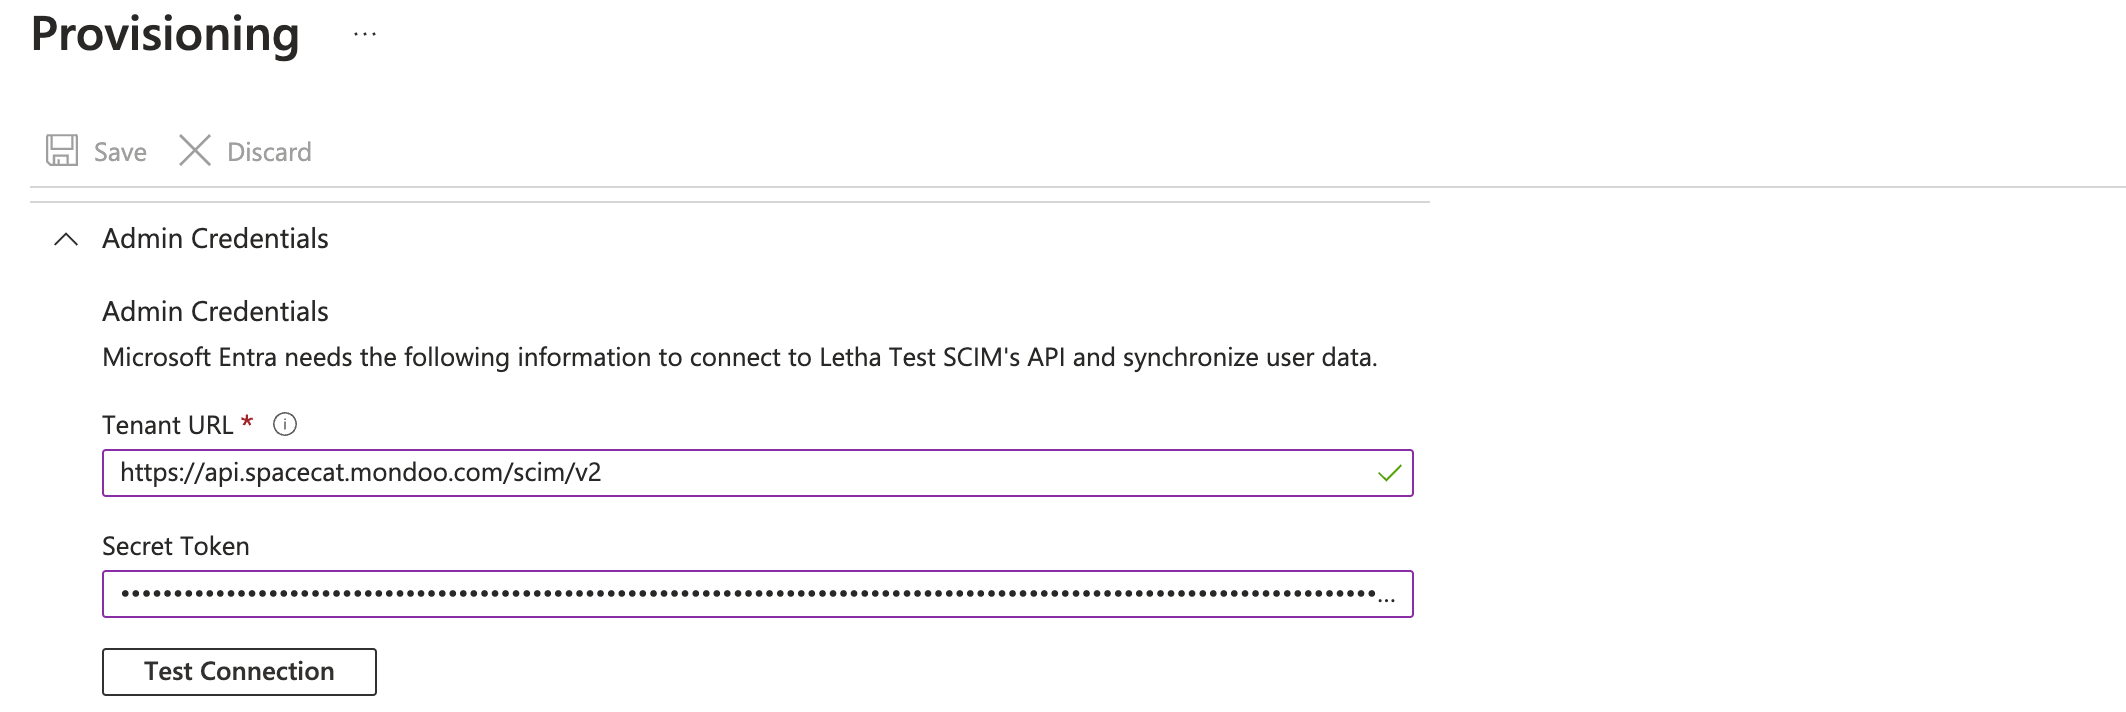
In the Tenant URL box, enter the SCIM base URL you identified in the step above.
-
In the Secret Token box, paste the Mondoo API token you created in the step above.
-
On the Provisioning toolbar, select Save.
-
Select the Mappings drop-down and select Provision Microsoft Entra ID Groups.
-
Scroll down to the Attribute Mappings and make sure that these attributes are mapped:
| Mondoo Attribute | Microsoft Entra ID Attribute |
|---|---|
| userName | userPrincipalName |
| displayName | displayName |
| externalId | objectId |
Step E: Identify Mondoo organization and space IDs
To find the ID of an organization and a space:
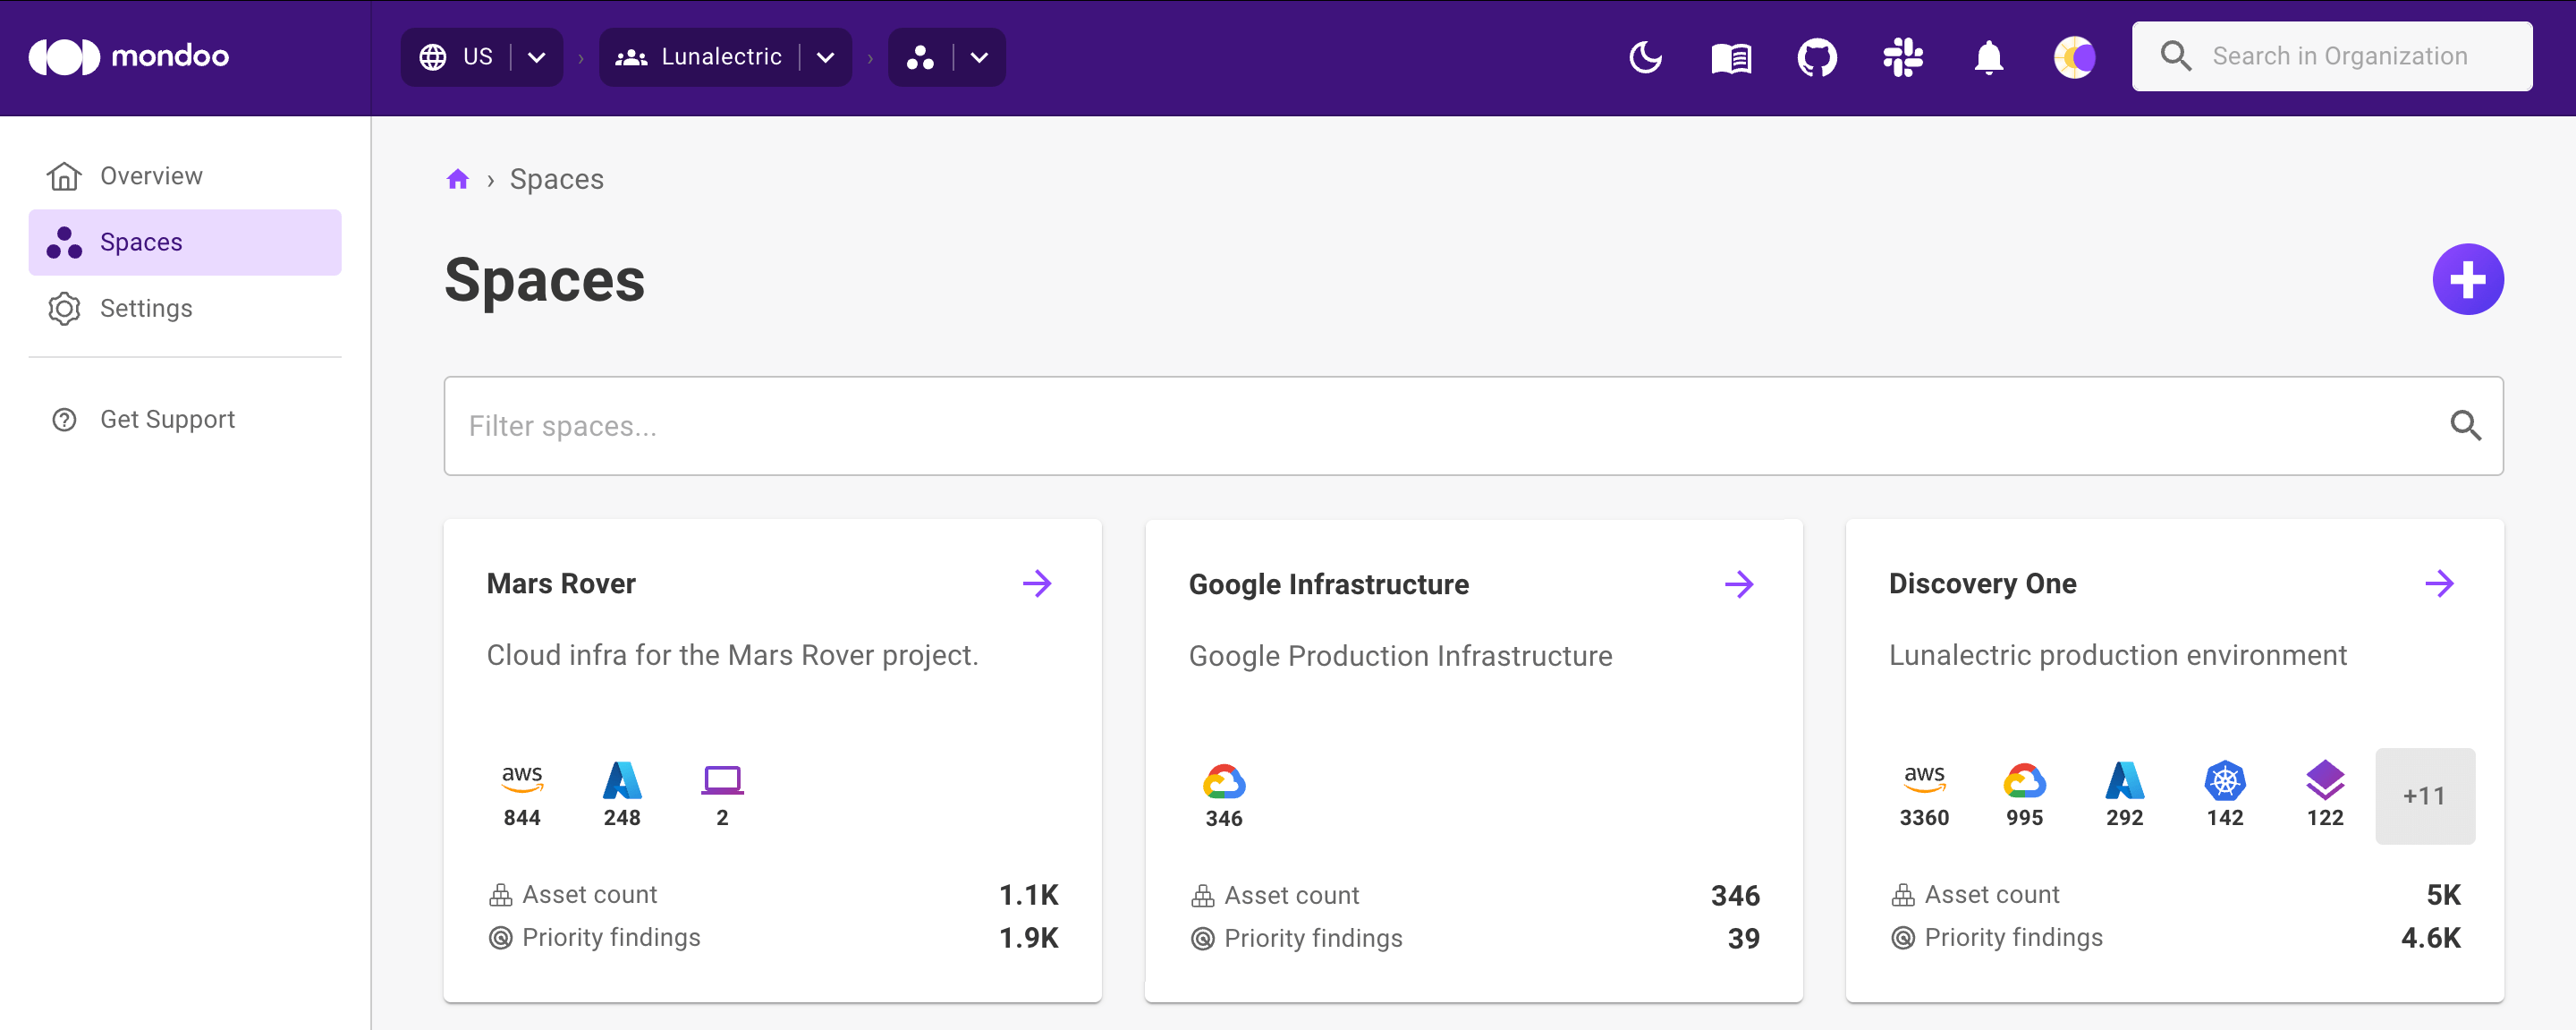
-
In the top navigation bar of the Mondoo Console, select your region. Mondoo displays all organizations in the region.
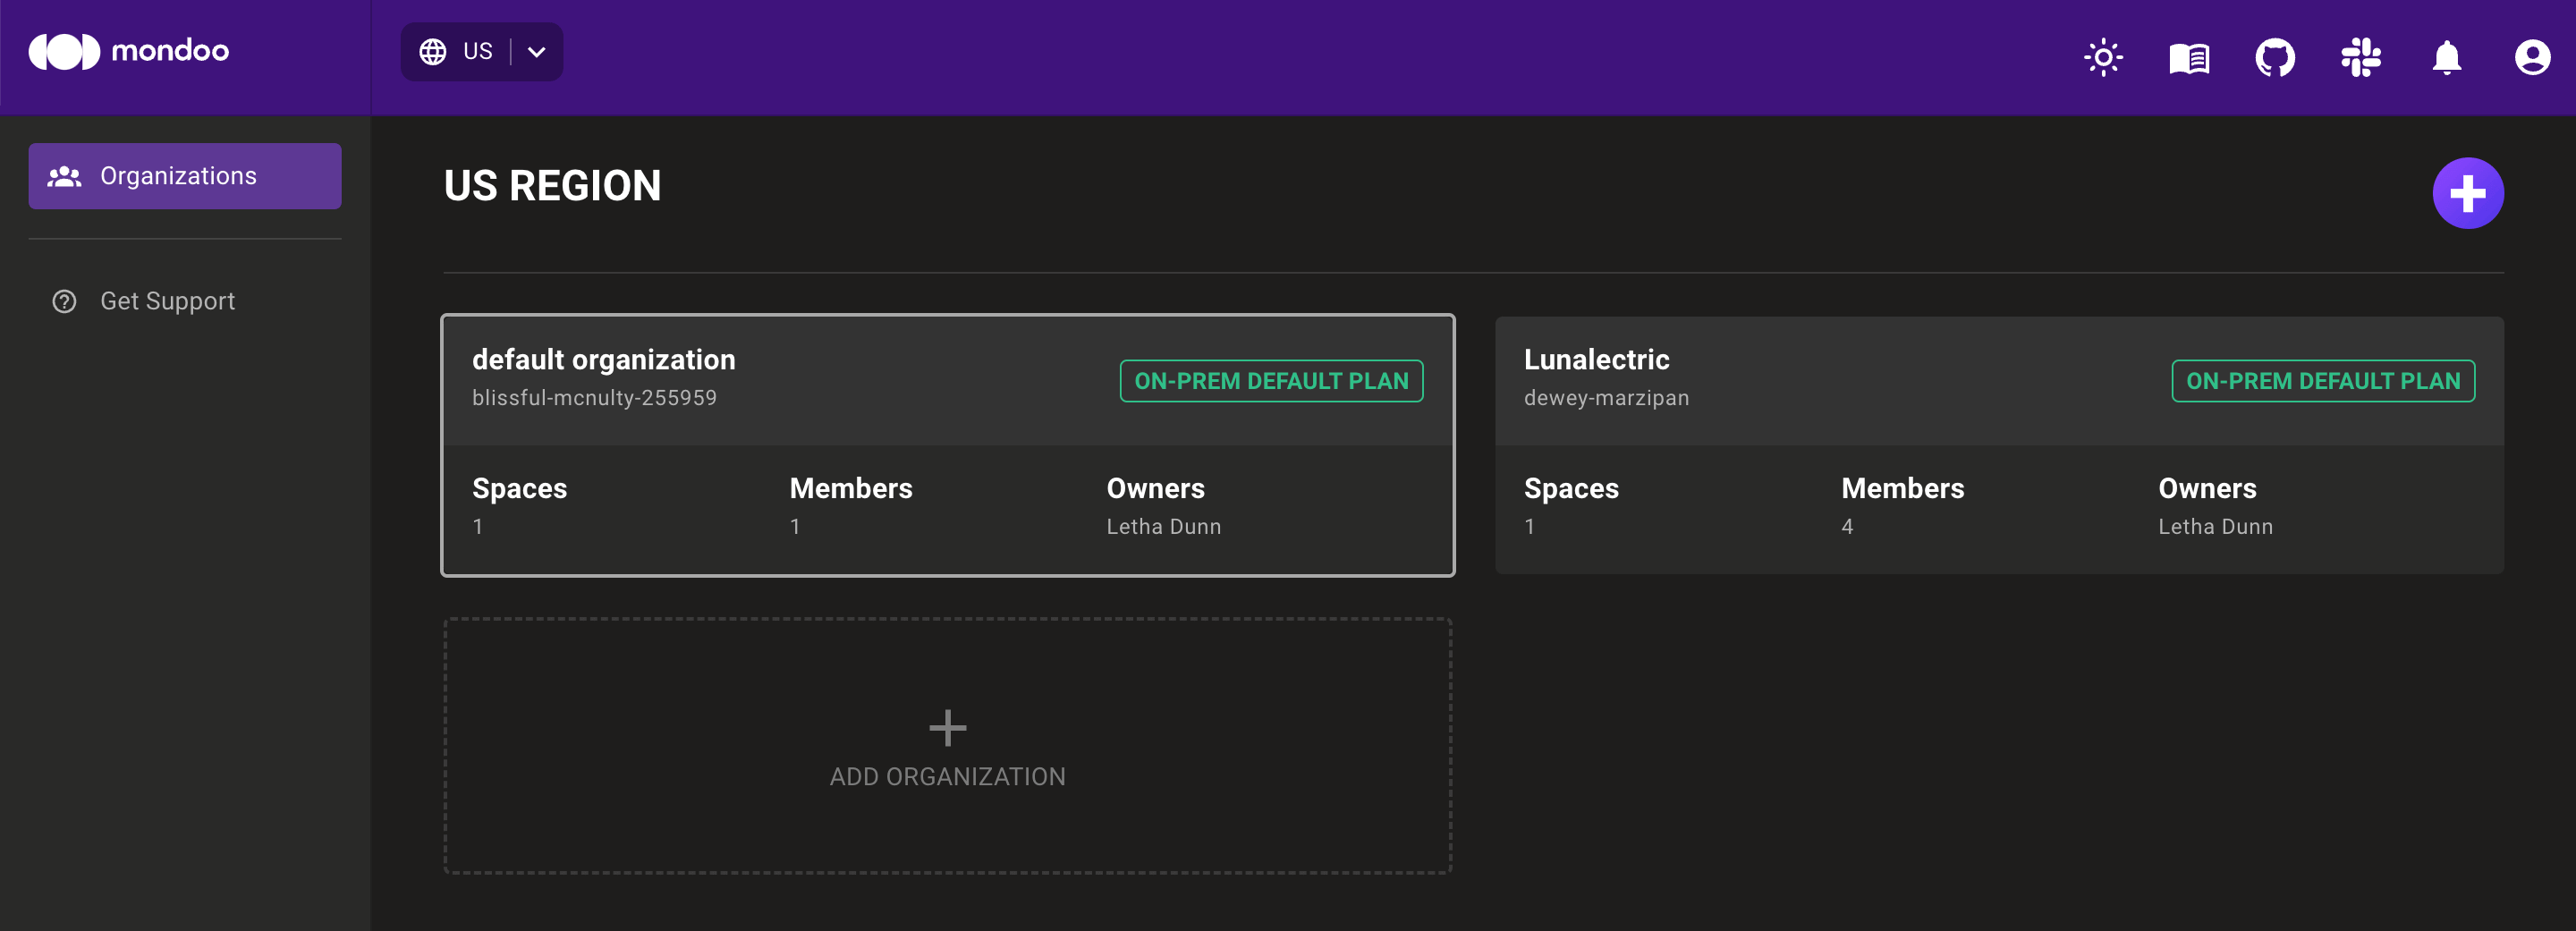
Note each organization's ID in smaller text below the organization name. In the image above, the organization IDs are
blissful-mcnulty-255959anddewey-marzipan. -
Select the organization containing the space you want and, in the side navigation bar, select Spaces.
-
Select the space you want and, in the side navigation bar, select Settings.
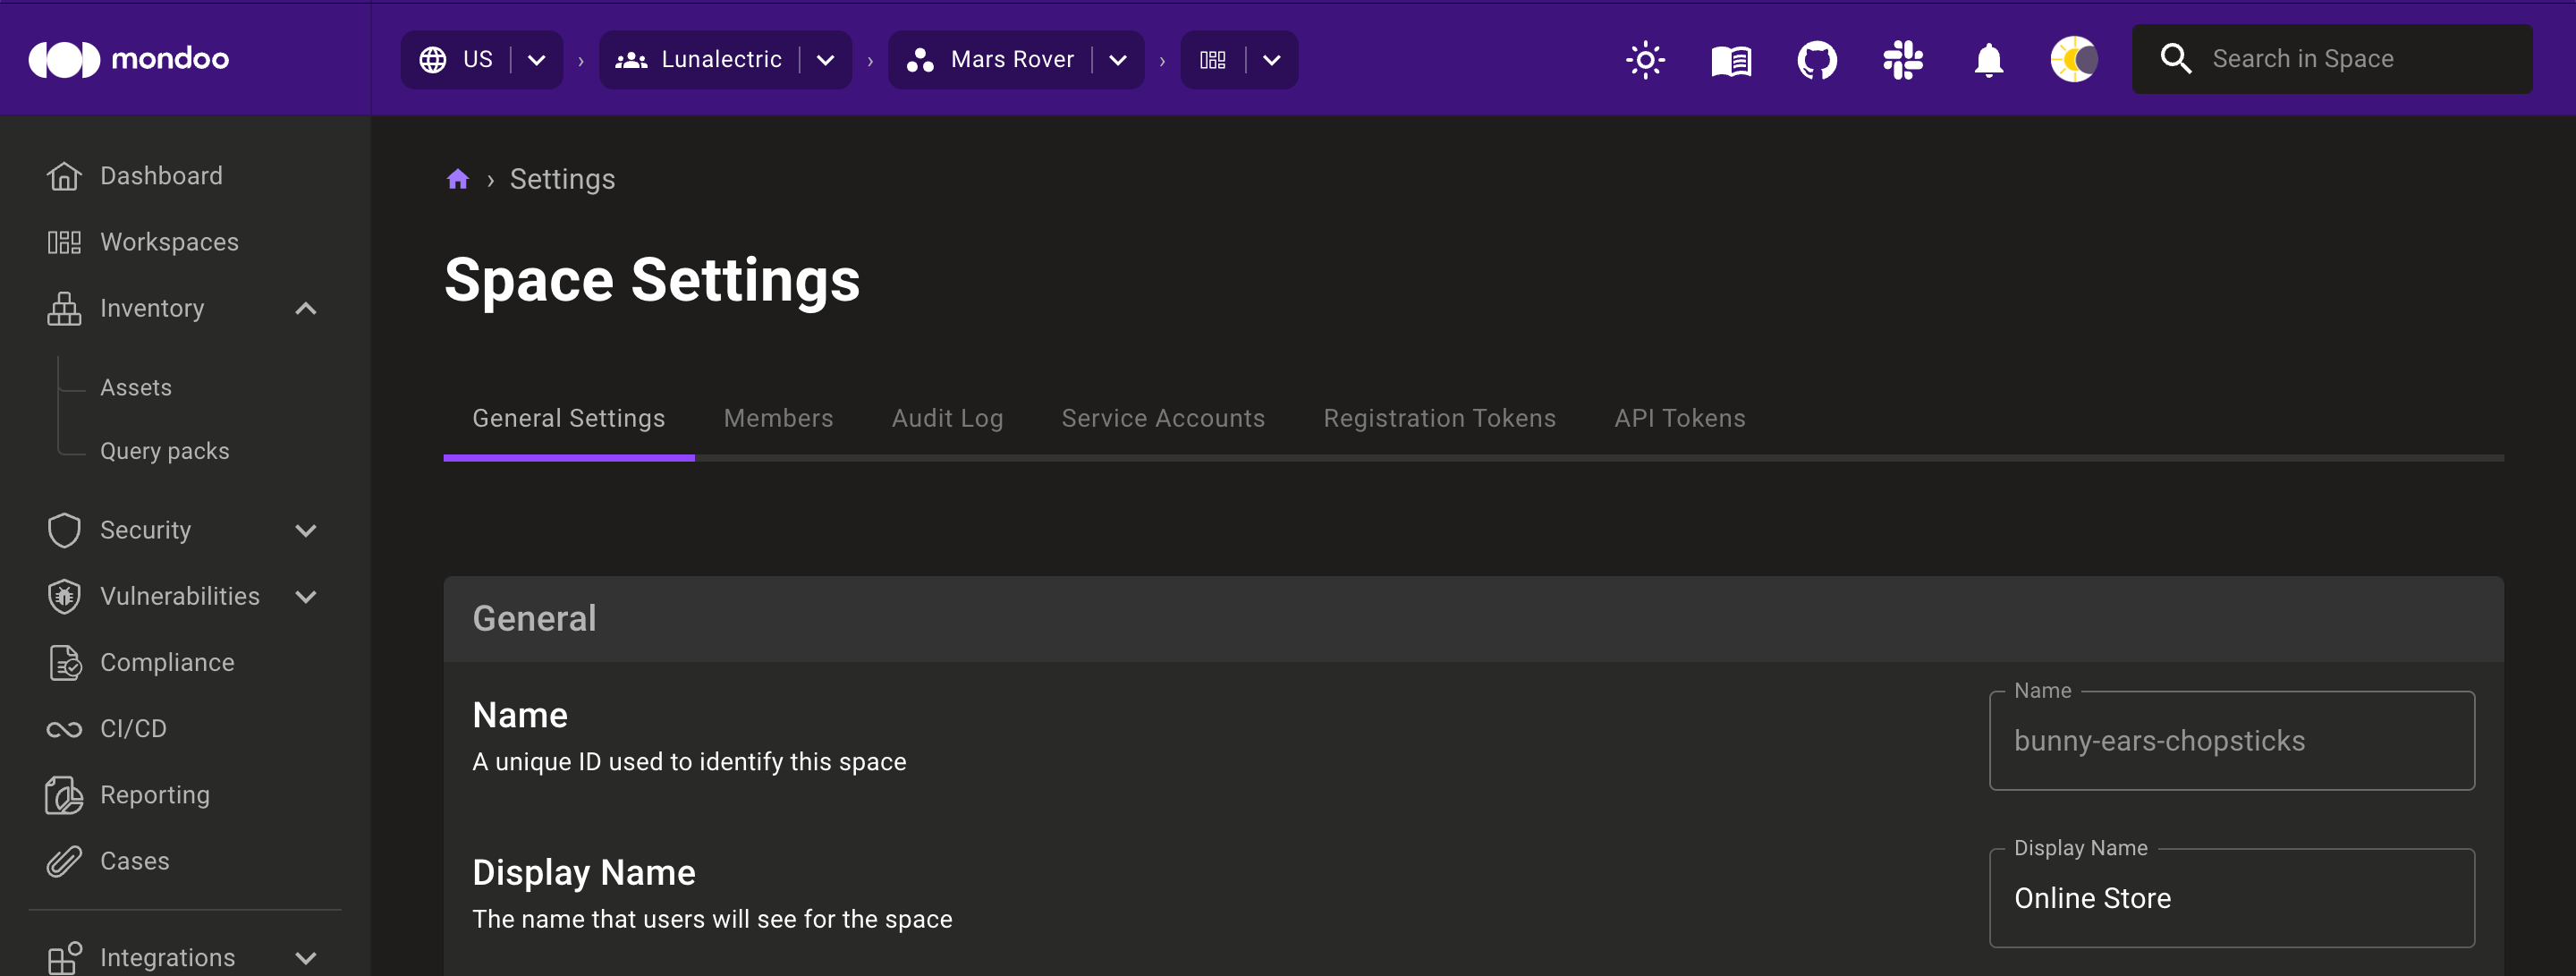
On the General Settings tab, note the ID of the space in the first field, Name (A unique ID used to identify this space). In the image above, the space ID is
bunny-ears-chopsticks.
Step G: Grant Mondoo organization and space access using cURL
Create a new file named scim-mapping.gql and containing a GraphQL request based on this sample:
{
  "query": "mutation {\n  setScimGroupMapping(\n    input: {\n      orgMrn: \"//captain.api.mondoo.app/organizations/YOUR-ORG-ID\",\n      group: \"YOUR-OKTA-GROUP\",\n      mappings: [{\n        orgMrn: \"//captain.api.mondoo.app/organizations/YOUR-ORG-ID\",\n        #spaceMrn: \"//captain.api.mondoo.app/spaces/YOUR-SPACE-ID\",\n        iamRole: \"//iam.api.mondoo.app/roles/editor\"\n      },{\n        #orgMrn: \"//captain.api.mondoo.app/organizations/YOUR-ORG-ID\",\n        spaceMrn: \"//captain.api.mondoo.app/spaces/YOUR-SPACE-ID\",\n        iamRole: \"//iam.api.mondoo.app/roles/editor\"\n      },{\n        #orgMrn: \"//captain.api.mondoo.app/organizations/YOUR-ORG-ID\",\n        spaceMrn: \"//captain.api.mondoo.app/spaces/YOUR-SPACE-ID\",\n        iamRole: \"//iam.api.mondoo.app/roles/viewer\"\n      }]\n    }\n  ) {\n    group\n  }\n}"
}
| For... | Substitute... |
|---|---|
| YOUR-ORG-ID | The ID of the organization to which you want to grant a group access |
| YOUR-SPACE-ID | The ID of the space to which you want to grant a group access |
Execute the query:
$ export TOKEN='eyJhbGciOiJF...'
$ curl -i -X POST -H "content-type: application/json" \
  -H "authorization: Bearer $TOKEN" -d @scim-mapping.gql \
  https://api.spacecat.mondoo.com/query
Learn more
- To learn more about SCIM, read System for Cross-domain Identity Management.
- To learn more about app registrations and enterprise apps in Microsoft Entra, read Microsoft's Application management documentation.