Grant Keyless Non-Human Access to Mondoo
If you're concerned about storing and maintaining credentials for Mondoo service accounts, you can use an external workload identity federation (WIF) provider instead. WIF providers give non-human users secure access to Mondoo without requiring stored credentials (keys). Apps, services, infrastructure as code, and scripts can authenticate using a WIF provider to read or write data in a Mondoo space.
What is a WIF provider?
A WIF provider is an external identity service that allows workloads running outside of Mondoo to authenticate and access your Mondoo data without the burden of service account key credentials. Example workloads include infrastructure as code, apps, services, and automation tools. These external workloads use a WIF provider to exchange an external identity token for a Mondoo service account access token, giving them access without the risk and hassle of storing and maintaining credentials.
Why use a WIF provider?
For a workload to access your Mondoo space, it must authenticate with Mondoo. Traditionally a service account with public and private key credentials provides this authentication. These credentials pose a security risk; anyone with access to them can authenticate with Mondoo. You must store them securely, rotate them regularly, and carefully manage their distribution.
With WIF, an external workload authenticates with Mondoo without storing any keys. When a workload needs to access your space, it sends a trusted identity token (from the WIF provider) to Mondoo and retrieves a Mondoo access token. This process eliminates the need to manually manage credentials and lowers the risk of stolen keys.
With WIF you can:
-
Improve security—You don't have to rely on long-lived, static service account keys that can be compromised.
-
Reduce maintenance—There's no need to manage and rotate service account keys.
-
Use what you already have—Tap into your existing identity infrastructure for authentication instead of adding and maintaining yet another account.
Which WIF providers does Mondoo support?
Mondoo trusts these WIF providers for authentication:
-
Azure
-
GitHub
-
Google Cloud
-
Custom OpenID Connect (OIDC) providers
How does a workload use a WIF provider to authenticate with Mondoo?
The process of authenticating an external workload with Mondoo using a WIF provider is a series of requests and token exchanges:

-
The external workload requests a token from the WIF provider (e.g. Google, Azure, GitHub).
-
The WIF provider issues a token to the external workload.
-
The external workload requests an access token from Mondoo, providing the WIF-issued token for authentication.
-
Mondoo validates the external WIF-issued token.
-
Mondoo determines what space the external workload is allowed to access.
-
Mondoo issues a time-limited access token to the external workload.
-
The external workload accesses your space, authenticated as a service principal.
Set up keyless authentication for workloads (DIY method)
Setting up WIF authentication for Mondoo involves these steps:
-
Create a WIF auth binding in Mondoo.
-
Request a token from the WIF provider.
-
Exchange the token for a service account to give your workload access to your Mondoo space.
curl -v -X POST -H "Content-Type: application/json; charset=utf-8"
    https://api.edge.mondoo.com/SecureTokenService/ExchangeExternalToken -d '{
      "audience": "//captain.api.mondoo.app/spaces/<SPACE-ID>",
      "issuer_uri": <WIF-ISSUER-URI>,
      "jwt_token": <WIF-ISSUED-TOKEN>}'
Select your WIF provider for detailed instructions:
- GCP
- Azure
- GitHub
Set up keyless authentication with GCP
Prerequisites
-
Sufficient GCP privileges to create and manage service accounts
-
Editor or Owner privileges in the Mondoo space to which your workload needs access
Step A: Prepare your GCP environment for WIF
-
Create a GCP service account. To learn how, read Create service accounts.
-
Go the Service account details page and note the service account's unique ID. You need this value when you configure the workload identity provider.
-
Assign the managed identity to a virtual machine or another resource where your workload runs. To learn how, read Create a VM and attach the service account.
Step B: Create a new workload identity provider in Mondoo
-
In the Mondoo Console, navigate to the space in which you want to set up keyless access for non-human users.
-
In the left navigation, select Settings. Then select the Workload Identity tab.
-
Select the ADD PROVIDER button or the plus (+) symbol near the top-right corner of the tab and select Google.
-
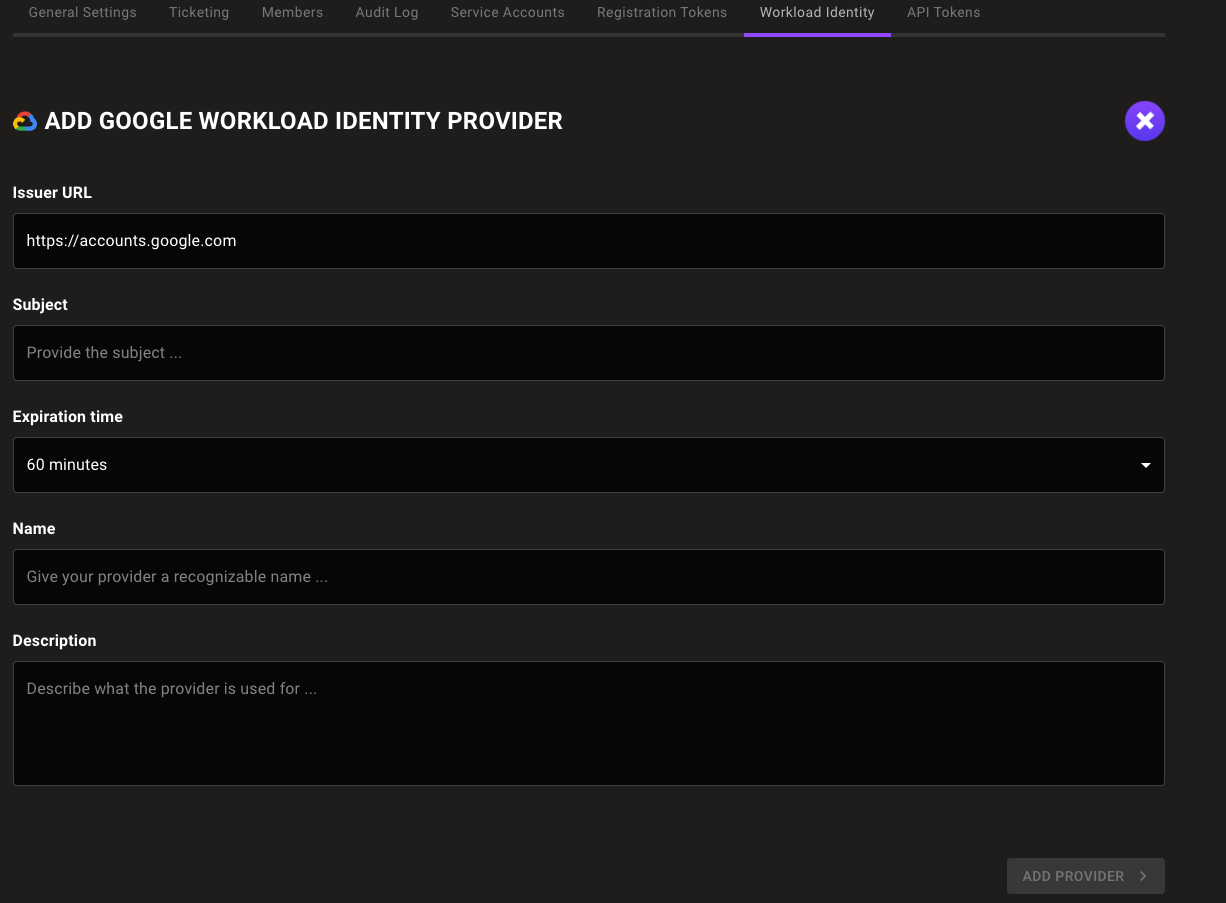
In the Issuer URL box, keep the default
https://accounts.google.com. -
In the Subject box, enter the unique ID of the GCP service account you created in Step A.
-
In the Expiration time list, choose the duration of sessions authenticated with this WIF provider.
-
In the Name and Description boxes, provide a short name and longer description that help you and your teammates recognize the source and purpose of the provider.
-
Select the ADD PROVIDER button.
Mondoo generates and displays the configuration values that you need to give your workload access to your Mondoo space.
Step C: Exchange your token for access to the Mondoo space
Fetch the local token:
curl -H "Metadata-Flavor: Google" "http://metadata.google.internal/computeMetadata/v1/instance/service-accounts/default/identity?audience=test"
Make a curl call to exchange a local token for a short-lived Mondoo service account:
curl --request POST \
  --url 'UNIVERSE_DOMAIN/SecureTokenService/ExchangeExternalToken?=' \
  --header 'content-type: application/json' \
  --data '{
  "audience": "AUDIENCE",
  "issuer_uri": "ISSUER",
  "jwt_token": "TOKEN"
  }'
| For... | Substitute... |
|---|---|
| AUDIENCE | The audience value Mondoo provided when you followed the instructions in Step C above |
| ISSUER | The issuer value Mondoo provided when you followed the instructions in Step C above |
| TOKEN | The token GCP provided when you followed the instructions in Step B above |
This call returns a Mondoo service account in the form of a base64_credential value, which your workload can use to access the Mondoo space by setting MONDOO_CONFIG_BASE64 to the returned value.
Set up keyless authentication with Azure (Microsoft Entra ID)
Prerequisites
-
Sufficient Microsoft Entra ID privileges to create and manage service principals
-
Editor or Owner privileges in the Mondoo space to which your workload needs access
Step A: Prepare your Microsoft environment for WIF
-
Register a Microsoft Entra app and create a service principal. You can use the default Application (client) ID or specify a custom URI. Be sure to note the Application ID URI. You need this value when you configure the workload identity provider.
-
Create a managed identity. Be sure to note its Object ID. You need this value when you configure the workload identity provider.
-
Assign the managed identity to a virtual machine or another resource where your workload runs. To learn how, read User-assigned managed identity.
Step B: Create an identity provider in Mondoo
-
In the Mondoo Console, navigate to the space in which you want to set up keyless access for non-human users.
-
In the left navigation, select Settings. Then select the Identity Providers tab.
-
Select the ADD IDENTITY PROVIDER button or the plus (+) symbol near the top-right corner of the tab and select Azure.
-
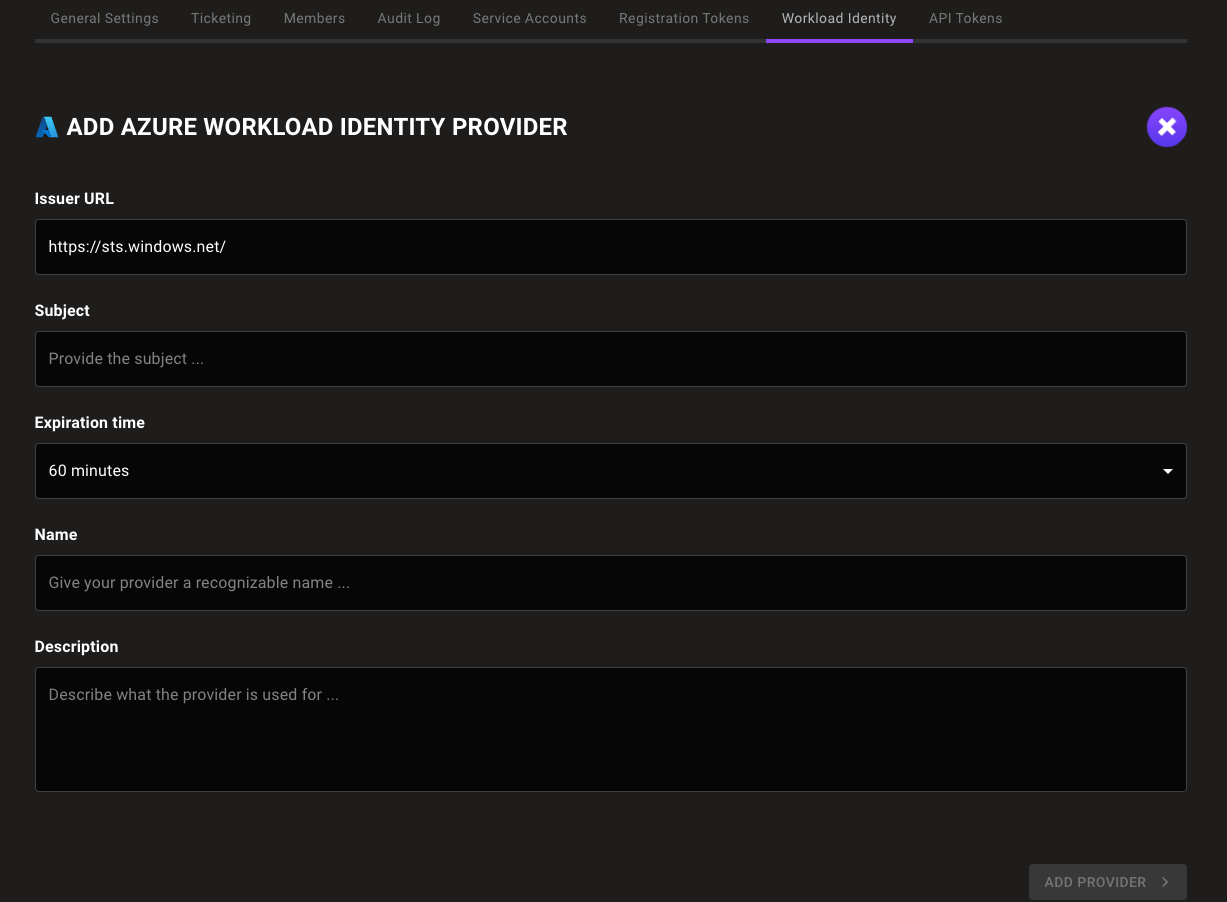
In the Issuer URL box, enter
https://sts.windows.net/YOUR_TENANT_ID. For YOUR_TENANT_ID, substitute the tenant ID of the Microsoft directory in which you created the service principal. -
In the Subject box, enter the Application ID URI from Step A.
-
In the Expiration time list, choose the duration of sessions authenticated with this WIF provider.
-
In the Name and Description boxes, provide a short name and longer description that help you and your teammates recognize the source and purpose of the identity provider.
-
Select the ADD IDENTITY PROVIDER button.
Mondoo generates and displays the configuration values that you need to give your workload access to your Mondoo space.
Step C: Exchange your token for access to the Mondoo space
Fetch the local token:
curl http://localhost:50342/oauth2/token --data "resource=https://management.azure.com/" -H Metadata:true -s | jq -r ".access_token"
Make a curl call to exchange a local token for a short-lived Mondoo service account:
curl --request POST \
  --url 'UNIVERSE_DOMAIN/SecureTokenService/ExchangeExternalToken?=' \
  --header 'content-type: application/json' \
  --data '{
  "audience": "AUDIENCE",
  "issuer_uri": "ISSUER",
  "jwt_token": "TOKEN"
  }'
| For... | Substitute... |
|---|---|
| AUDIENCE | The audience value Mondoo provided when you followed the instructions in Step C above |
| ISSUER | The issuer value Mondoo provided when you followed the instructions in Step C above |
| TOKEN | The Microsoft-issued, locally available token |
This call returns a Mondoo service account in the form of a base64_credential value, which your workload can use to access the Mondoo space by setting MONDOO_CONFIG_BASE64 to the returned value.
Set up keyless authentication with GitHub
To configure keyless authentication to Mondoo using GitHub as your WIF provider, you use a GitHub Actions workflow in a GitHub repository. Choose an existing repository in your GitHub organization or create a new one just for this purpose.
Prerequisites
-
Sufficient privileges in your GitHub repository to create and manage GitHub Actions workflows
-
Editor or Owner privileges in the Mondoo space to which your workload needs access
Step A: Create a workload identity provider in Mondoo
-
In the Mondoo Console, navigate to the space in which you want to set up keyless access for non-human users.
-
In the left navigation, select Settings. Then select the Workload Identity tab.
-
Select the ADD PROVIDER button or the plus (+) symbol near the top-right corner of the tab and select GitHub.
-
In the Issuer URL box, keep the default
https://token.actions.githubusercontent.com. -
In the Subject box, enter the organization and repository where you plan to create your GitHub Actions workflow.
-
In the Expiration time list, choose the duration of sessions authenticated with this WIF provider.
-
In the Name and Description boxes, provide a short name and longer description that help you and your teammates recognize the source and purpose of the workload identity provider.
-
Select the ADD PROVIDER button.

Mondoo generates and displays the configuration values that you need to give your workload access to your Mondoo space.
Step B: Create a GitHub Actions workflow
Create a GitHub Actions workflow in the repository you chose.
Set the id-token value to write.
Write the configuration values from Step A into a file, for example config.json.
Configure the workflow to run these commands:
export MONDOO_CONFIG_PATH=/path/to/config.json
cnspec status
if [ $(echo $?) != 0 ]; then echo "failed to reach mondoo" exit 1; fi
# run the scan
cnspec scan
| For... | Substitute... |
|---|---|
| AUDIENCE | The audience value Mondoo provided when you followed the instructions in Step D above |
| ISSUER | The issuer value Mondoo provided when you followed the instructions in Step D above |