Continuously Scan with a GCP Integration
Configure the Mondoo GCP integration to continuously scan your Google Cloud projects and organizations using one-click Workload Identity Federation or a service account key.
The Mondoo GCP integration continuously scans your GCP resources: compute instances, GKE clusters, Pub/Sub, and more.
Prerequisites
- Editor or Owner access in the Mondoo space where you want to add the integration
- Permission in GCP to create service accounts, Workload Identity Pools, and IAM policy bindings on the project or organization you want to scan
- For the service account key path only: the GCP CLI (
gcloud) or the Google Cloud console
Choose a setup path
| Path | Scope | Authentication |
|---|---|---|
| Project with one-click WIF (recommended) | One project | Keyless. Mondoo generates a gcloud script that creates everything for you. |
| Organization with WIF | Organization | Keyless, but you create the pool, provider, and service account yourself. |
| Service account key | Either | A static JSON key file that you must store securely and rotate. |
With Workload Identity Federation (WIF), Mondoo acts as an OIDC identity provider. When it's time to scan, Mondoo issues a short-lived OIDC token and presents it to GCP. GCP validates the token against Mondoo's public signing keys (fetched from Mondoo's OIDC discovery endpoint), then issues temporary GCP credentials that Mondoo uses to read resources. No static keys are stored or transmitted.
When you integrate a single GCP project using WIF, Mondoo generates the setup script for you. The script creates these resources in your project:
| Resource | Name |
|---|---|
| Workload Identity Pool | mondoo-pool |
| OIDC provider | mondoo-provider |
| Scanner service account | mondoo-scan@PROJECT_ID.iam.gserviceaccount.com |
It also grants the scanner service account the Viewer (roles/viewer) and Browser (roles/browser) roles on the project, and authorizes the pool to impersonate that service account.
The script is safe to run more than once. Every resource it creates is idempotent, so if a step fails you can run the whole script again.
Step 1: Find your project ID and project number
Both values appear on your Google Cloud console dashboard. Neither is the project's display name.
- The project ID is the unique ID string, for example
my-project-123. - The project number is the auto-assigned numeric ID, for example
123456789012.
To retrieve them from the CLI:
gcloud projects describe PROJECT_ID --format='value(projectId,projectNumber)'To learn more, read Identifying projects in the Google documentation.
Step 2: Start the integration in Mondoo
-
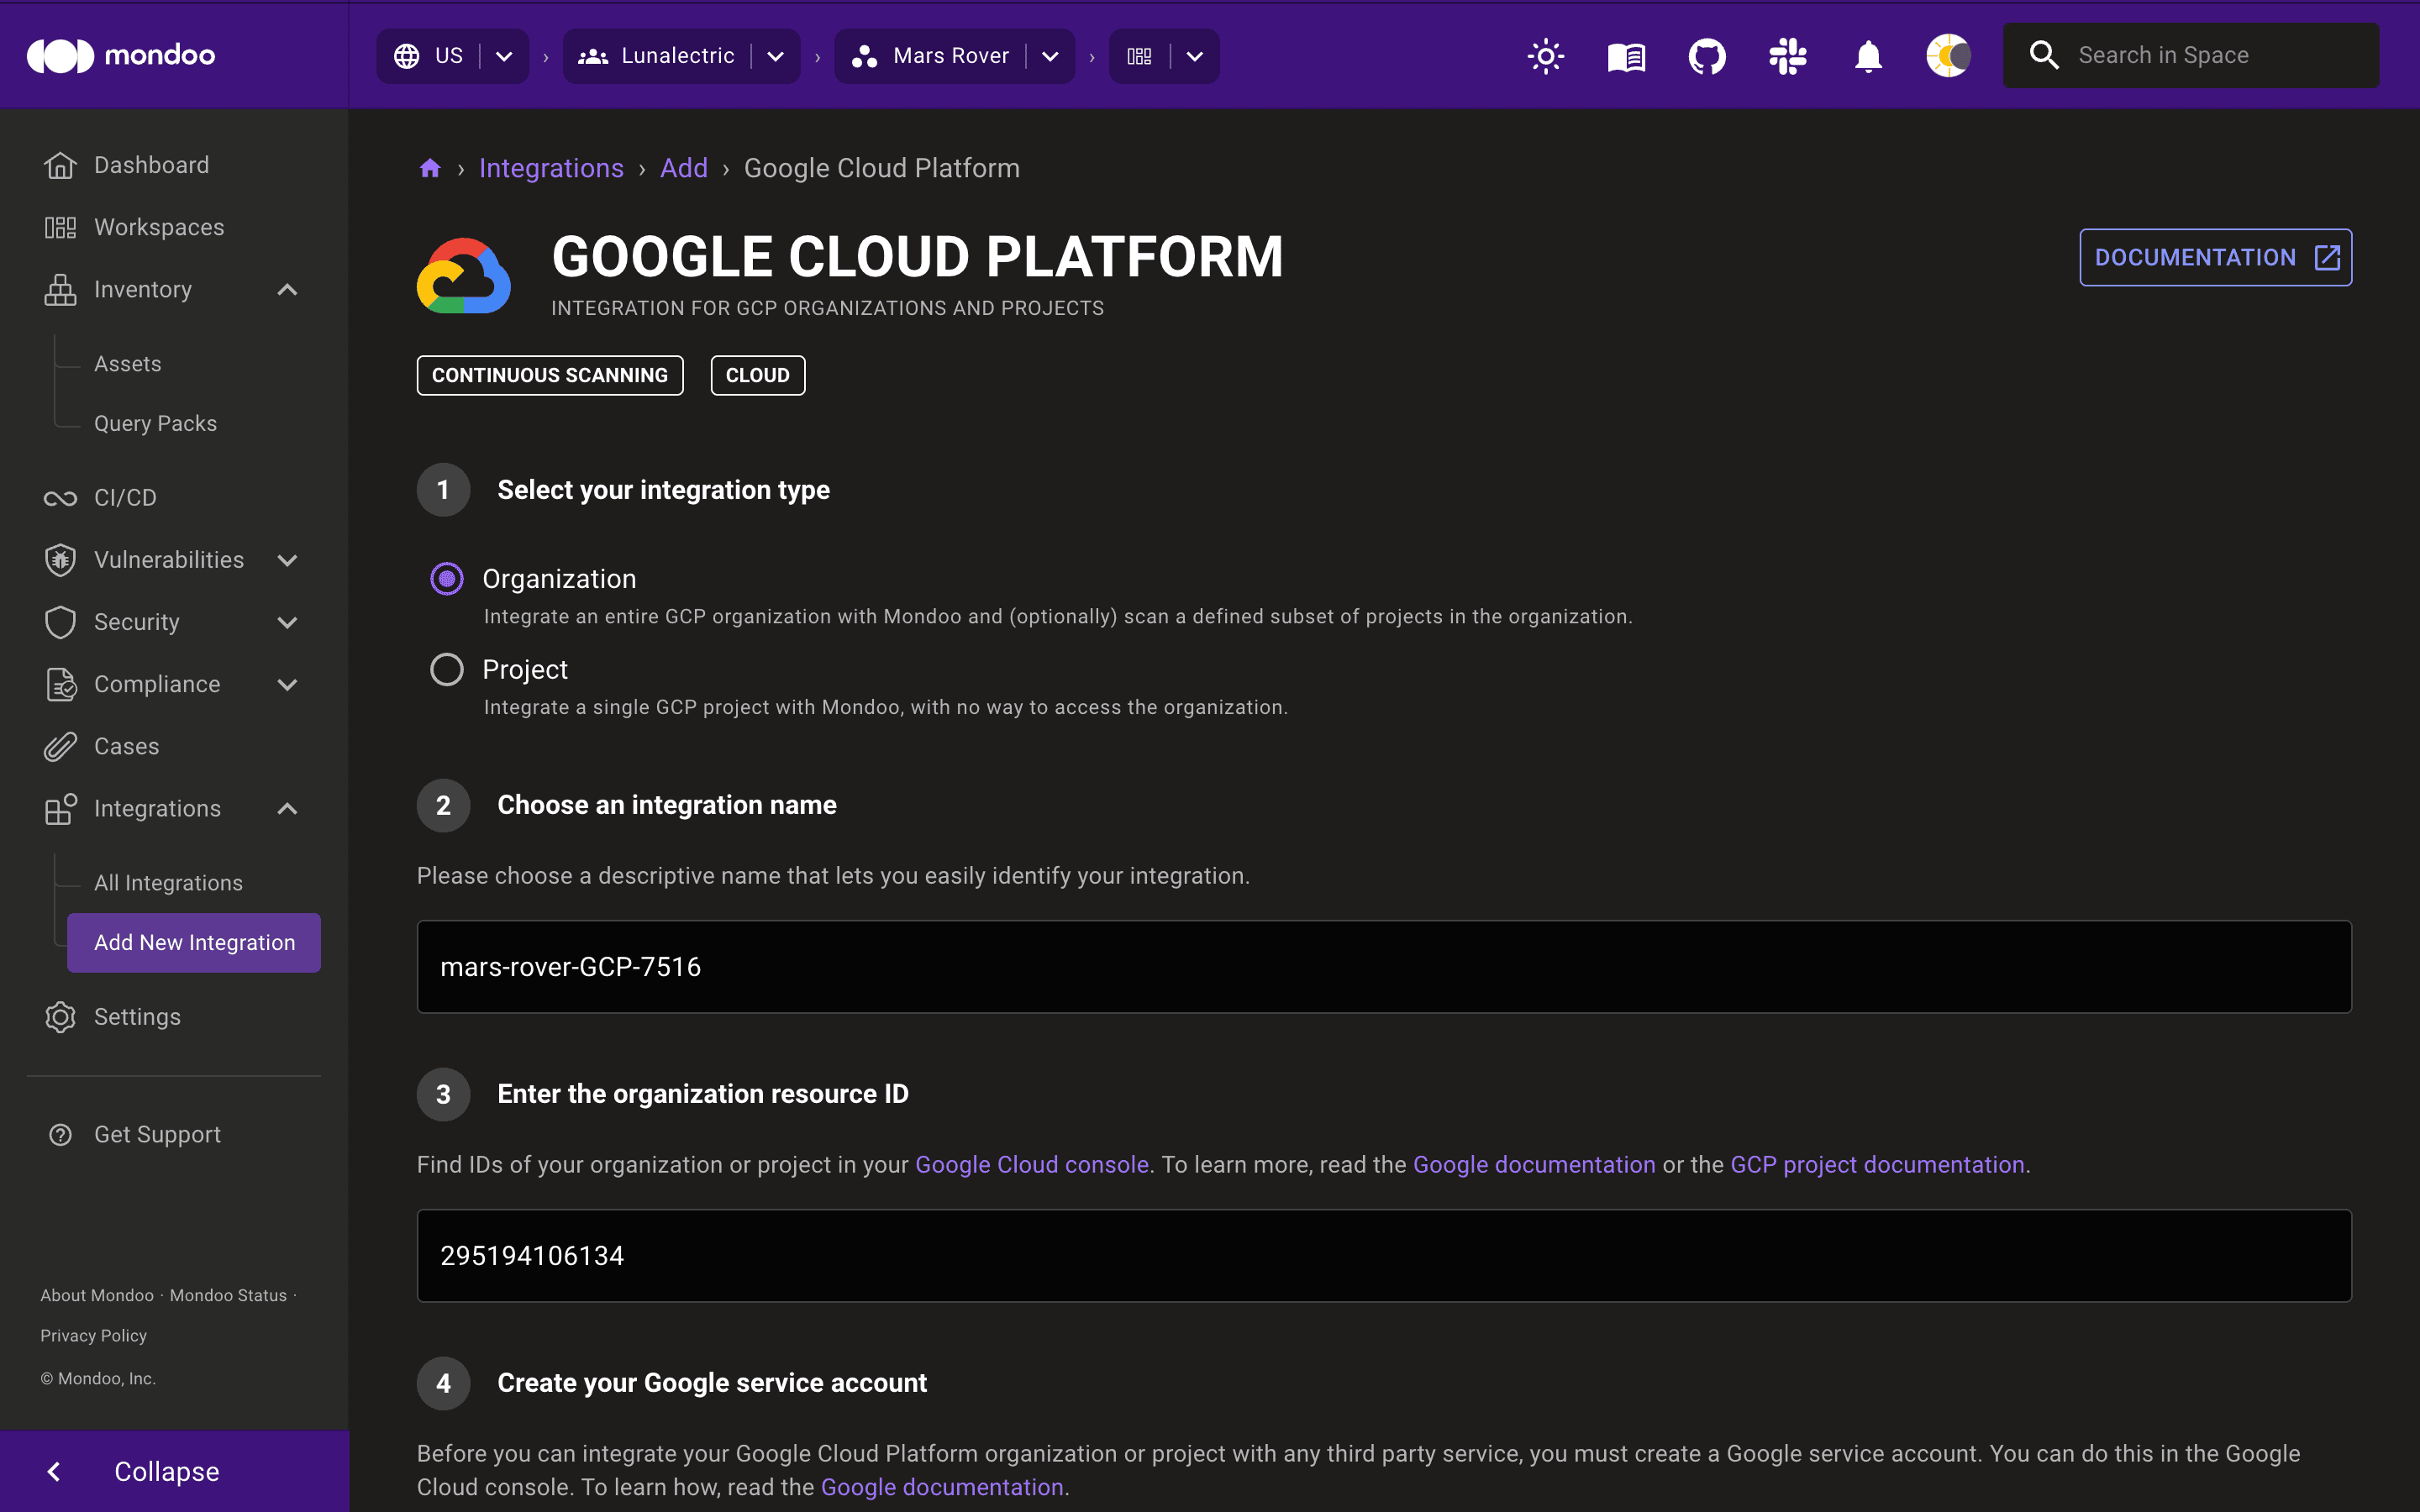
In the Mondoo App, navigate to the space where you want to add the integration. In the side navigation bar, select Integrations. In the top right, select + INSTALL. On the integrations page, find GCP by browsing or searching by name, then select it.
-
In the Choose an integration name box, enter a name for the integration.
-
Under Select your integration type, select Project.
-
In the Project ID box, enter your project ID. In the Project number box, enter your project number.
-
Under Configure authentication, select the Workload Identity Federation (recommended) tab. There's nothing to fill in: Mondoo derives the audience and service account email from your project ID and number.
-
(Optional) Under Enable security policies, choose the policies on which you want to base assessments of your Google Cloud environment. To learn more, read Manage Policies.
-
(Optional) Under Set Annotations, add key-value annotations that Mondoo applies to every asset this integration scans. Annotations make it easier to filter assets later or build workspaces that include only the assets from this integration.
-
Select Generate setup.
Mondoo creates the integration and shows you the setup script. It does not scan yet.
Step 3: Run the setup script in Google Cloud
-
Select Open in Google Cloud Shell. Cloud Shell opens in a new tab, scoped to the project you entered.
-
Select Copy script in Mondoo, paste the script into Cloud Shell, and press Enter.
-
Wait for the script to print
Mondoo GCP setup complete. If you don't see that line, the script didn't finish. Run it again.
You can also run the script from any workstation with the GCP CLI (gcloud) installed and authenticated to the target project.
Step 4: Start scanning
Return to the Mondoo tab and select Start Scanning.
New GCP permissions can take up to about 10 minutes to propagate. If the first scan fails with a permissions error, that delay is usually the cause. Wait a few minutes and scan again.
Step 5: Verify the integration
On the integration details page, wait for the first scan to complete. If the status changes to active, the setup is working correctly.
If the scan fails, double-check:
- The setup script finished successfully in the same project whose ID and number you entered in Mondoo.
- The
mondoo-scanservice account exists and has the Viewer and Browser roles on the project. - Enough time has passed for the new IAM bindings to propagate.