Set Exceptions on Checks
Add, approve, reject, and remove exceptions on individual checks within a compliance control.
Check exceptions let you exclude one check from your compliance score while keeping the rest of the control active. Use them when a control mostly applies to your organization but one specific check doesn't.
For the four exception types and the space-level settings that affect approval, read Customize Compliance.
Set an exception on a check
-
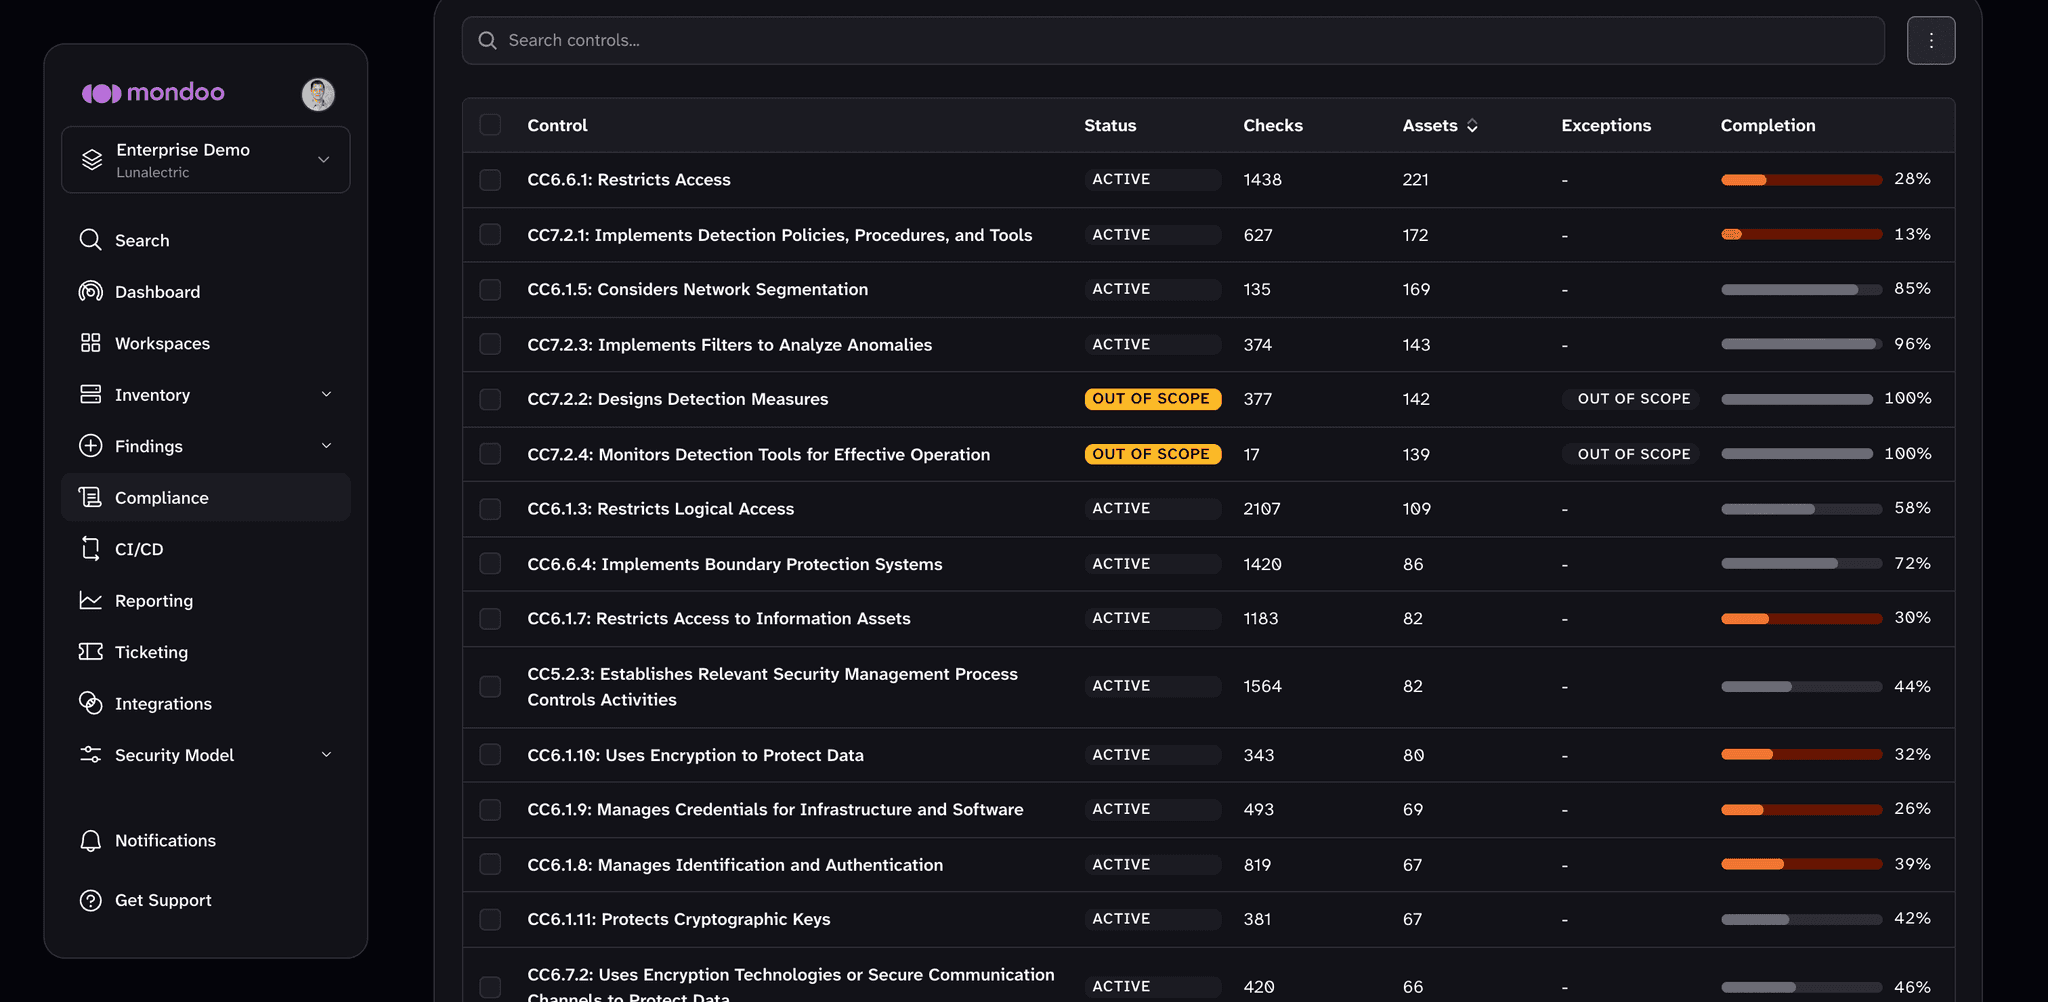
From a space, select Compliance in the side navigation, then select the framework. Scroll to the list of controls.
-
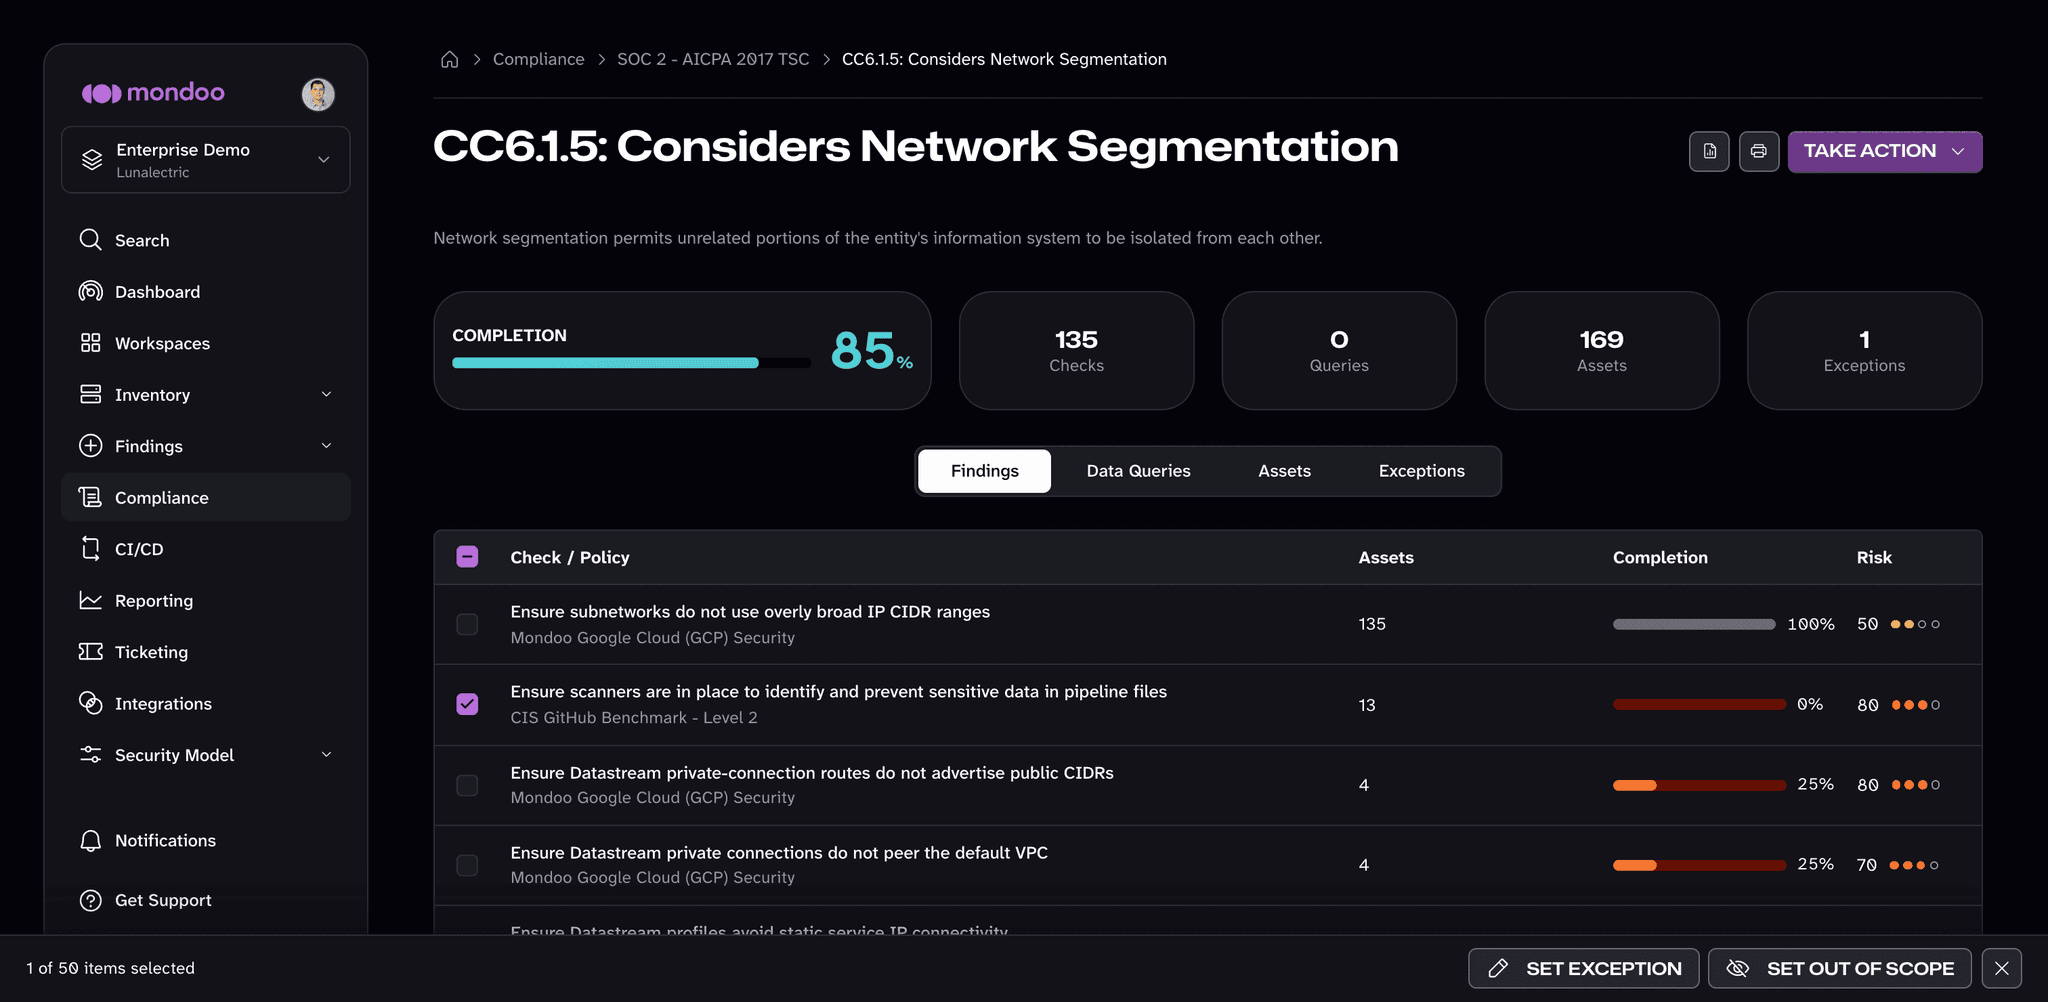
Select the control containing the check. On the Findings tab, check the box beside that check. A bar appears at the bottom of the page.
-
In that bar, select SET EXCEPTION.
-
Choose the exception type and time limit, optionally name the exception, write a justification, then select SAVE EXCEPTION.
Approve or reject an exception
An exception's approval flow depends on your space's exception settings. In new spaces, an exception stays pending until a team member with the Owner, Exception Reviewer, or Exception Manager role approves it. If a space owner has turned off Require exception approvals, exceptions apply as soon as they're created. Approving keeps the exception. Rejecting removes it and re-enables the check.
Only team members with Owner access or the Exception Reviewer or Exception Manager role can perform this task.
-
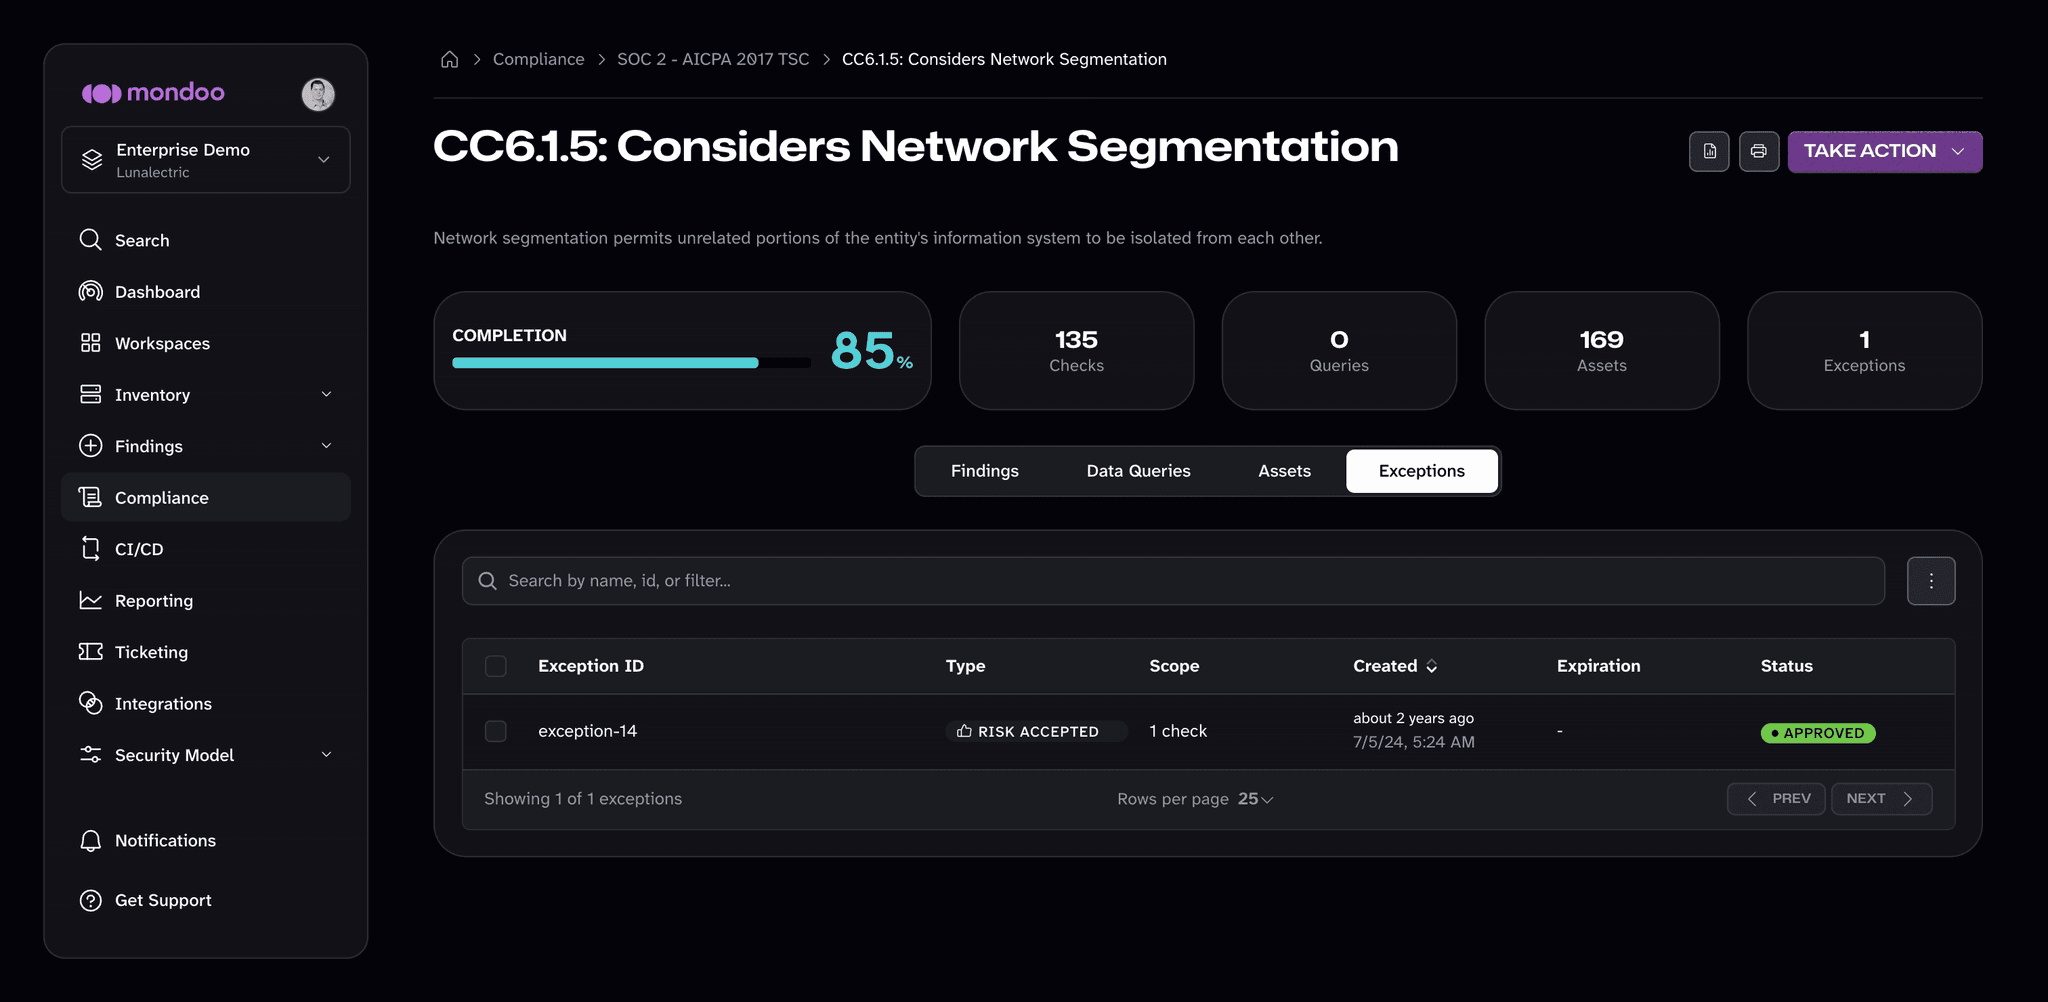
From the framework's controls list, select the control containing the excepted check, then switch to the Exceptions tab.
-
Select the exception to open its detail. For an exception with a NEEDS REVIEW status, select APPROVE to keep it or REJECT to remove it.
Re-enable a check
To remove an approved check exception and restore the check to your compliance score, open the control's Exceptions tab and select the exception to open its detail. Select the Modify exception (pencil) button, then select Remove exception and enable and confirm. An exception that's still pending review can be removed by selecting REJECT.