Export Data to Snowflake
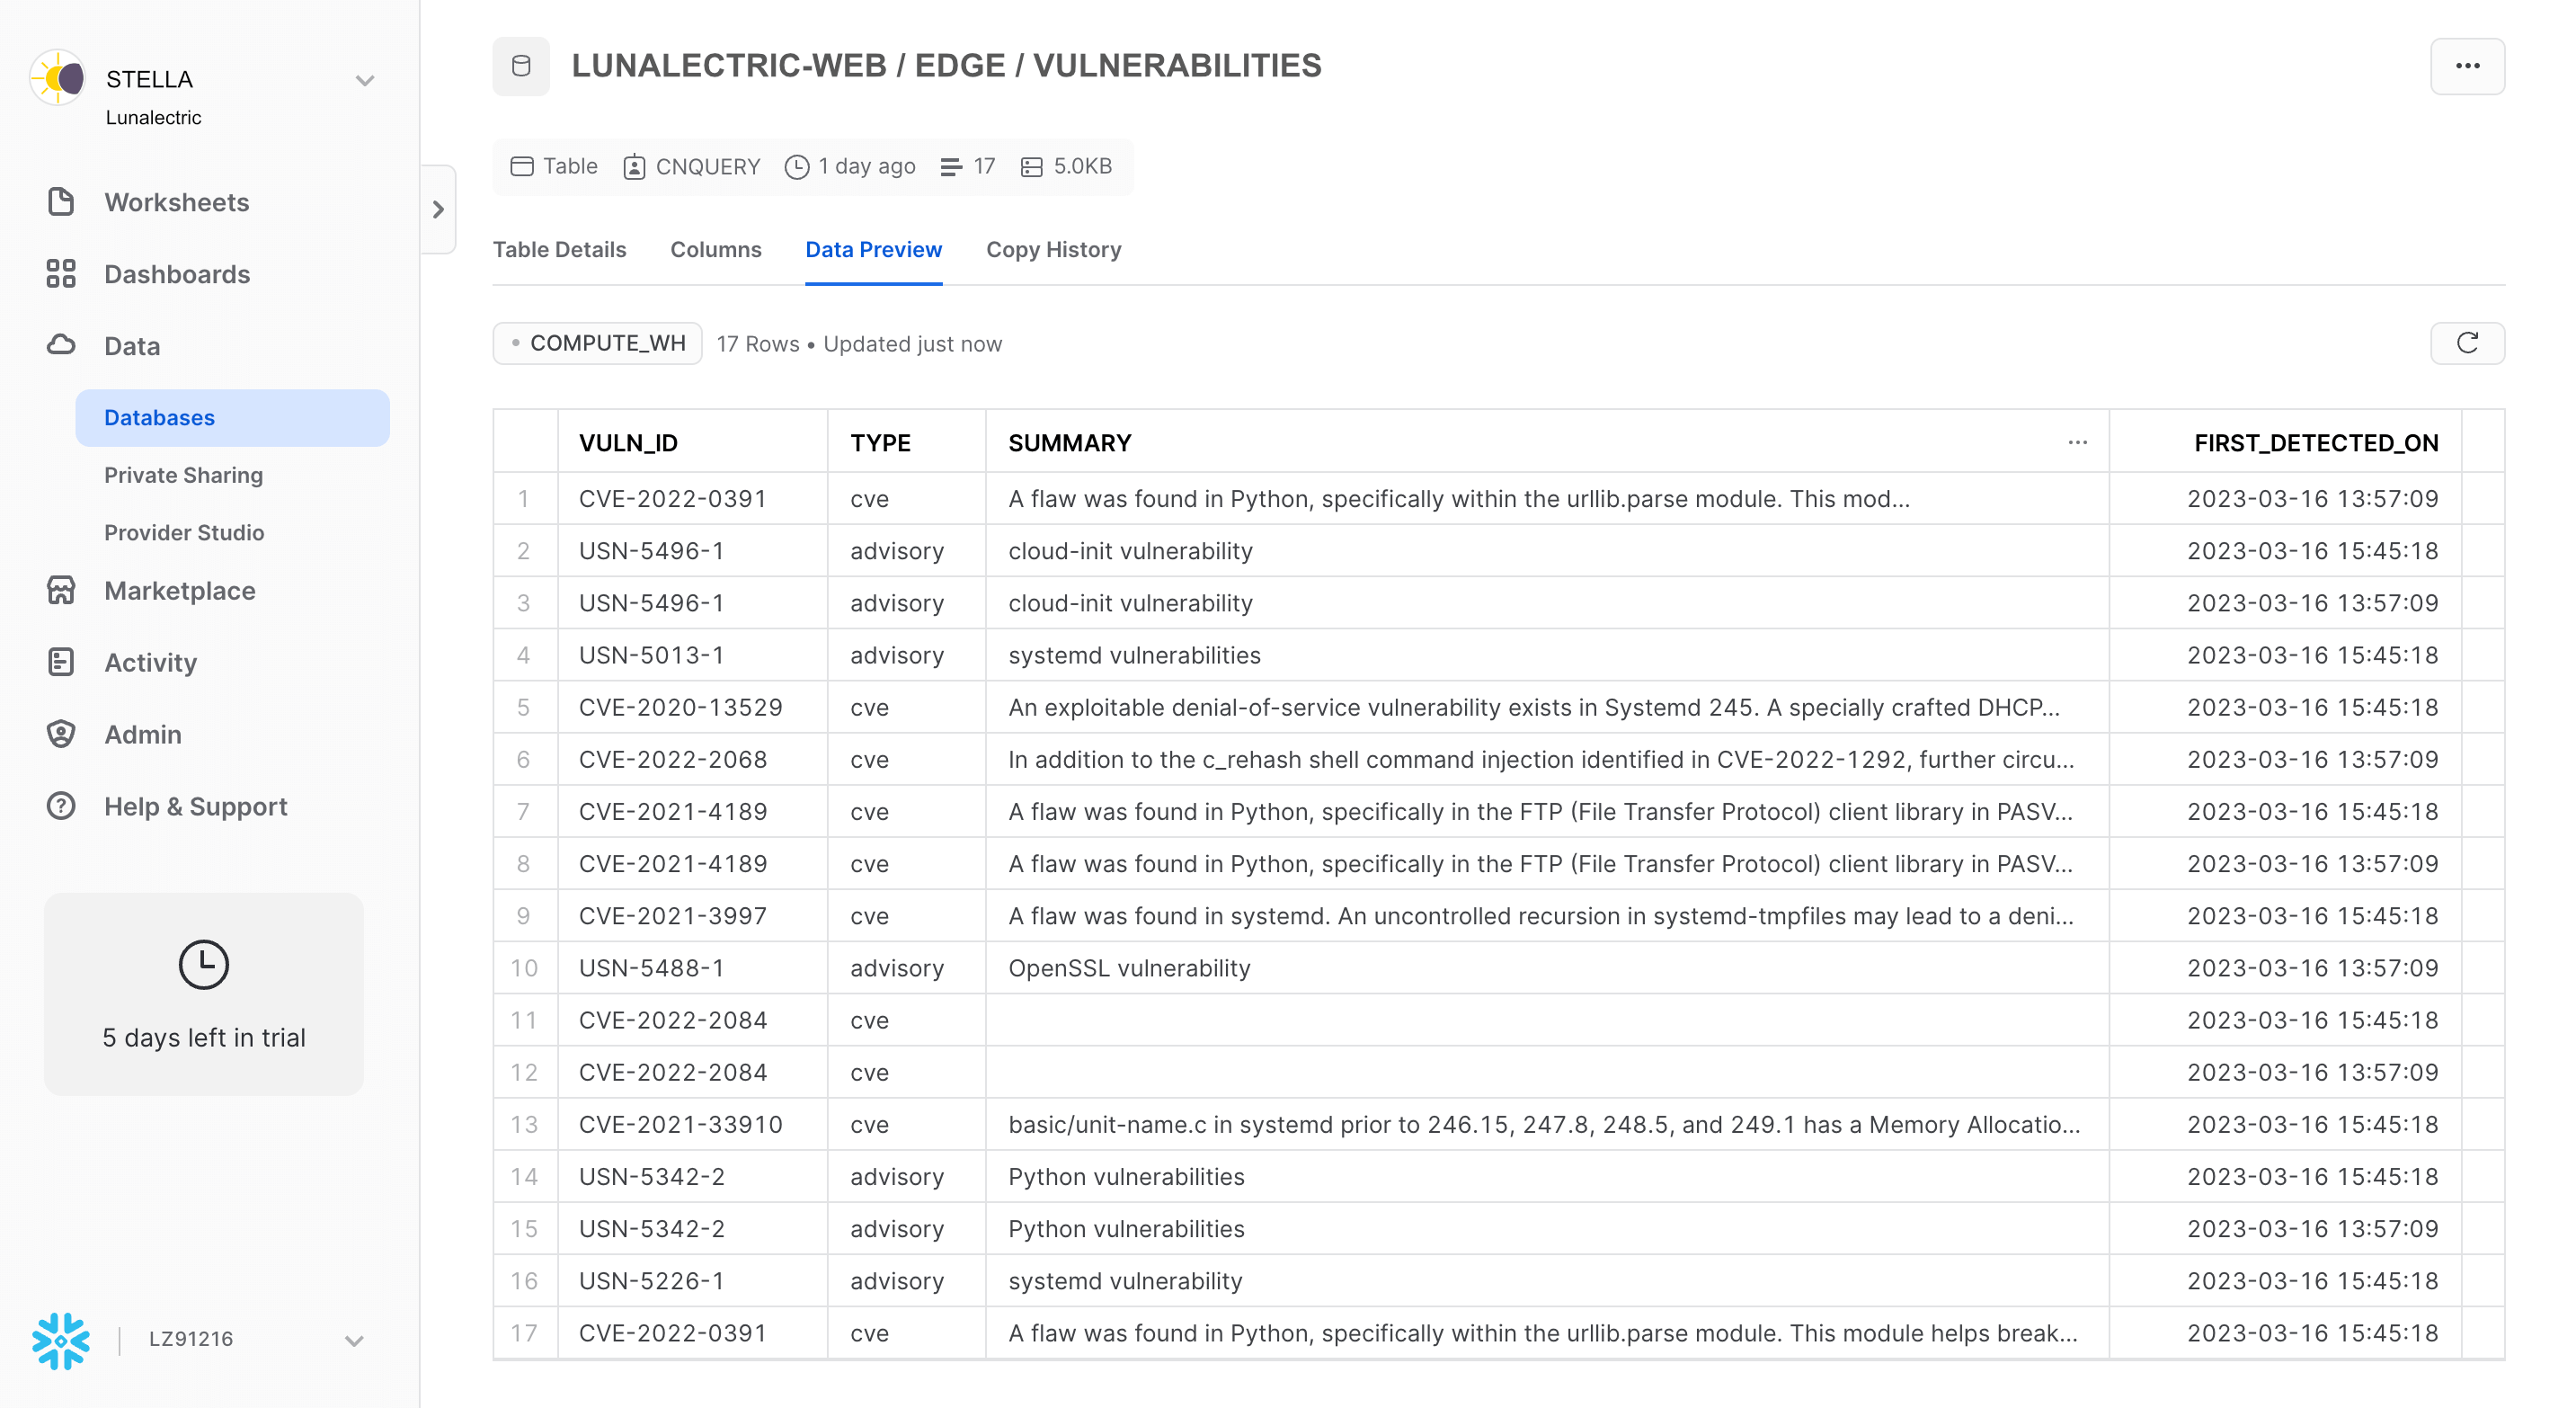
The Mondoo Snowflake integration lets you continuously export your space data, such as assets, vulnerabilities, and scan results, to a Snowflake database. The export runs approximately every 24 hours.
Requirements
To export data to Snowflake you must have a Snowflake account, database, warehouse, and schema already defined. To learn about setting these up, read the Snowflake documentation.
Find your Snowflake account ID and region ID
Mondoo needs the ID and region ID of a Snowflake account to which to export data. To find it:
-
Log into the Snowflake web-based UI.
-
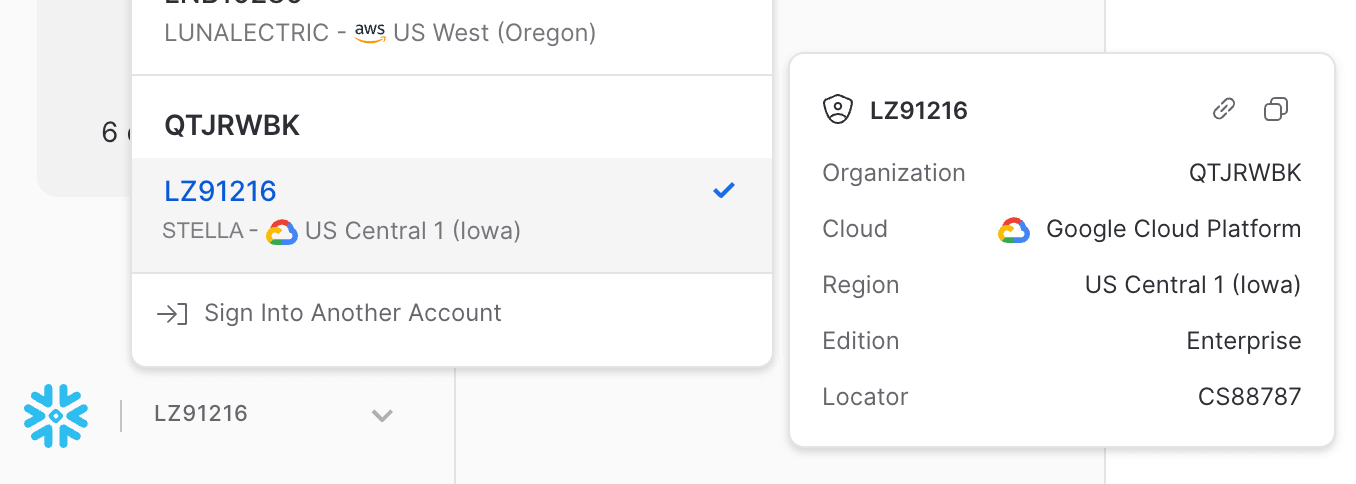
Find the Snowflake logo at the bottom-left corner of the window. Select the nearby dropdown arrow and then hover over your user ID for the account to which you want to export data.
-
Find the Locator value. This is the account ID that Mondoo requires.
-
Find the Region value. Snowflake shows the description of the region, such as
US Central 1 (Iowa). Instead of the description, Mondoo needs the ID, such asus-central1.gcp.
Add a new Snowflake integration
-
Access the Integrations > Add > Snowflake page in one of two ways:
-
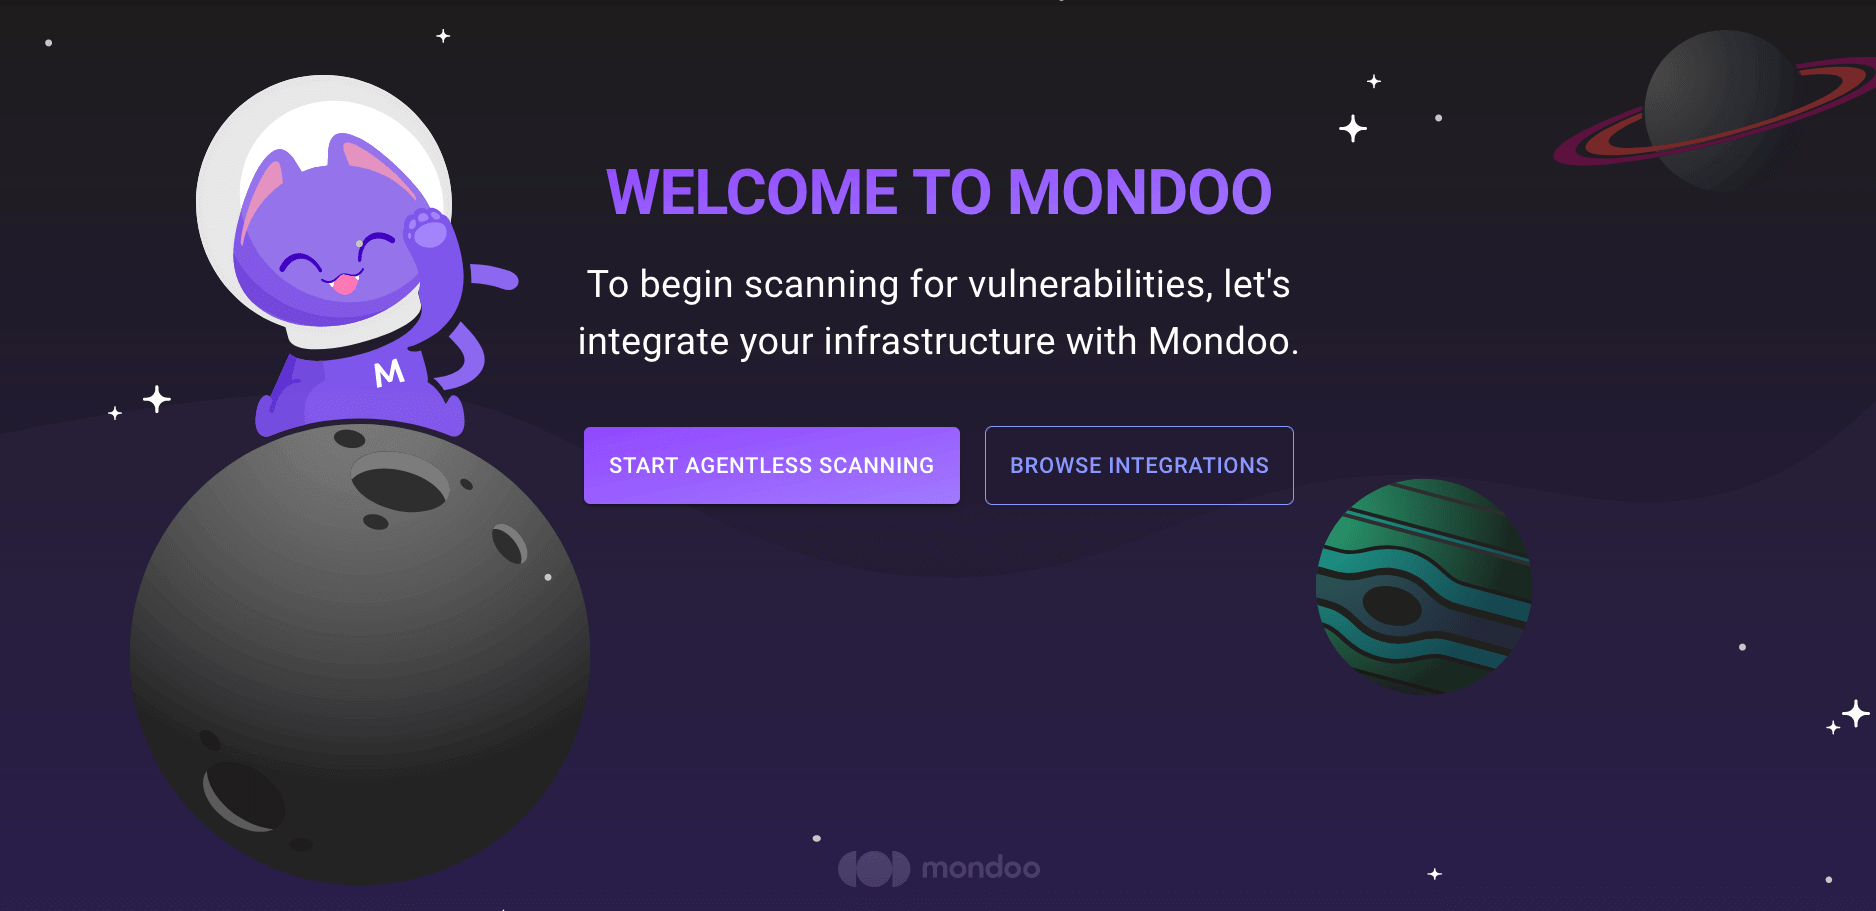
New space setup: After creating a new Mondoo account or creating a new space, the initial setup guide welcomes you. Select BROWSE INTEGRATIONS and then select Snowflake.
-
INTEGRATIONS page: Navigate to INTEGRATIONS. Under Exports, select Snowflake.

-
-
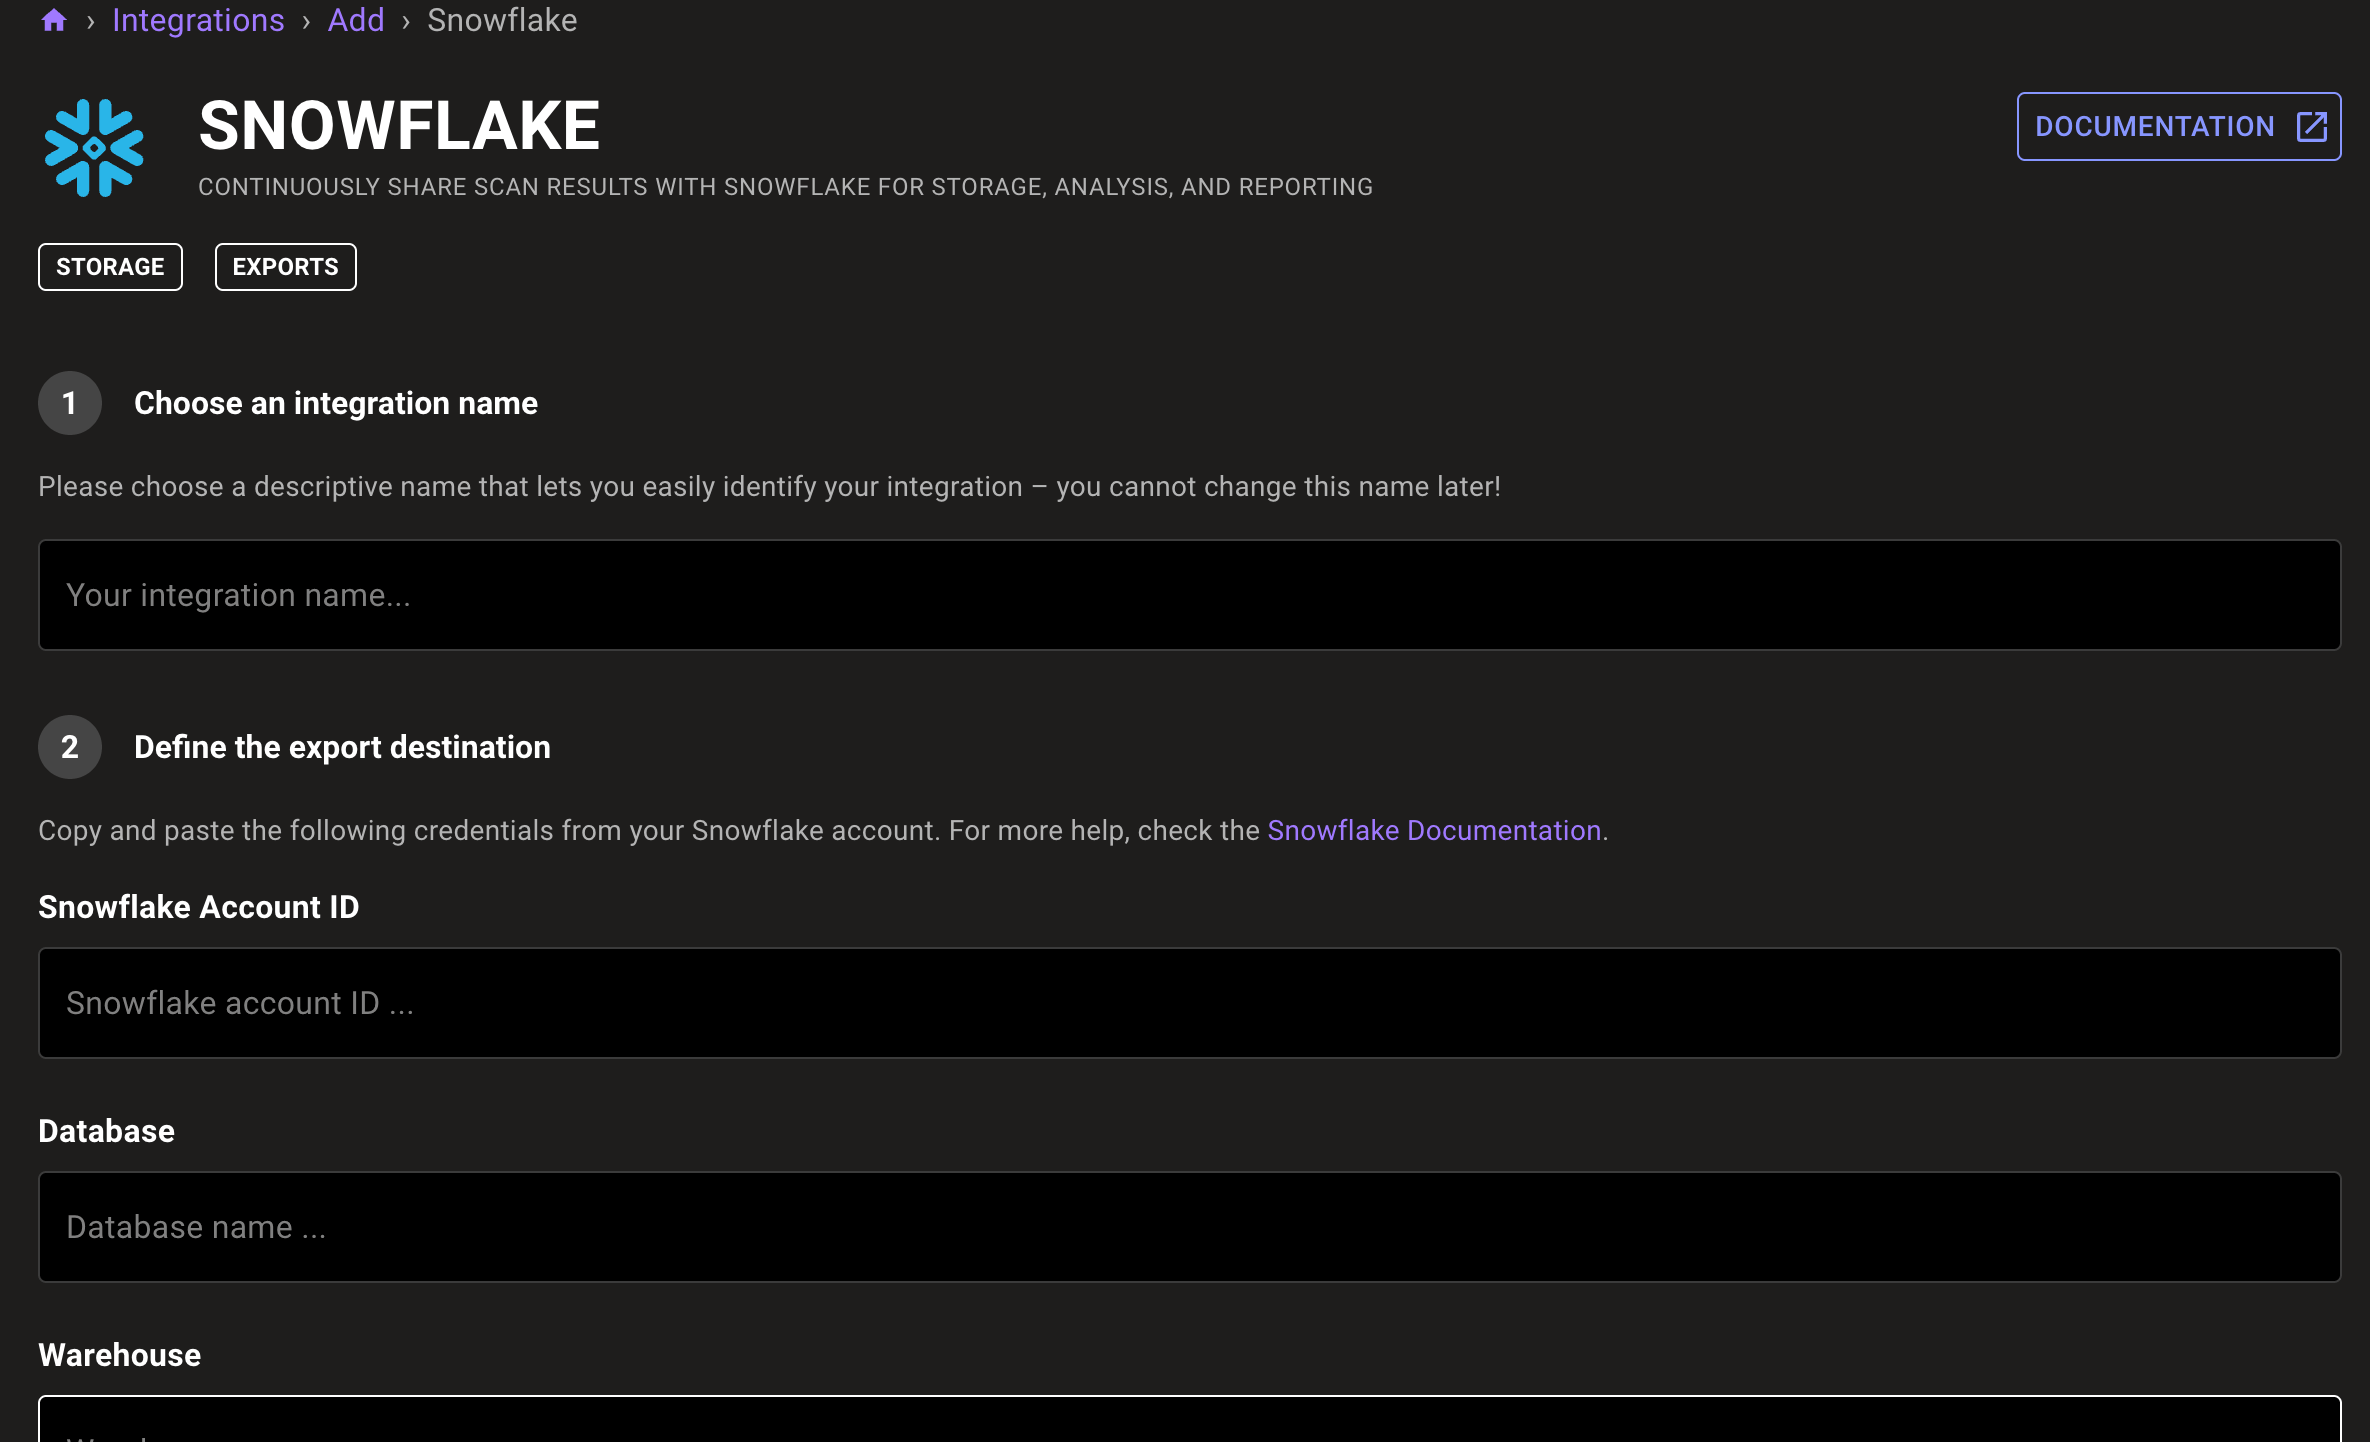
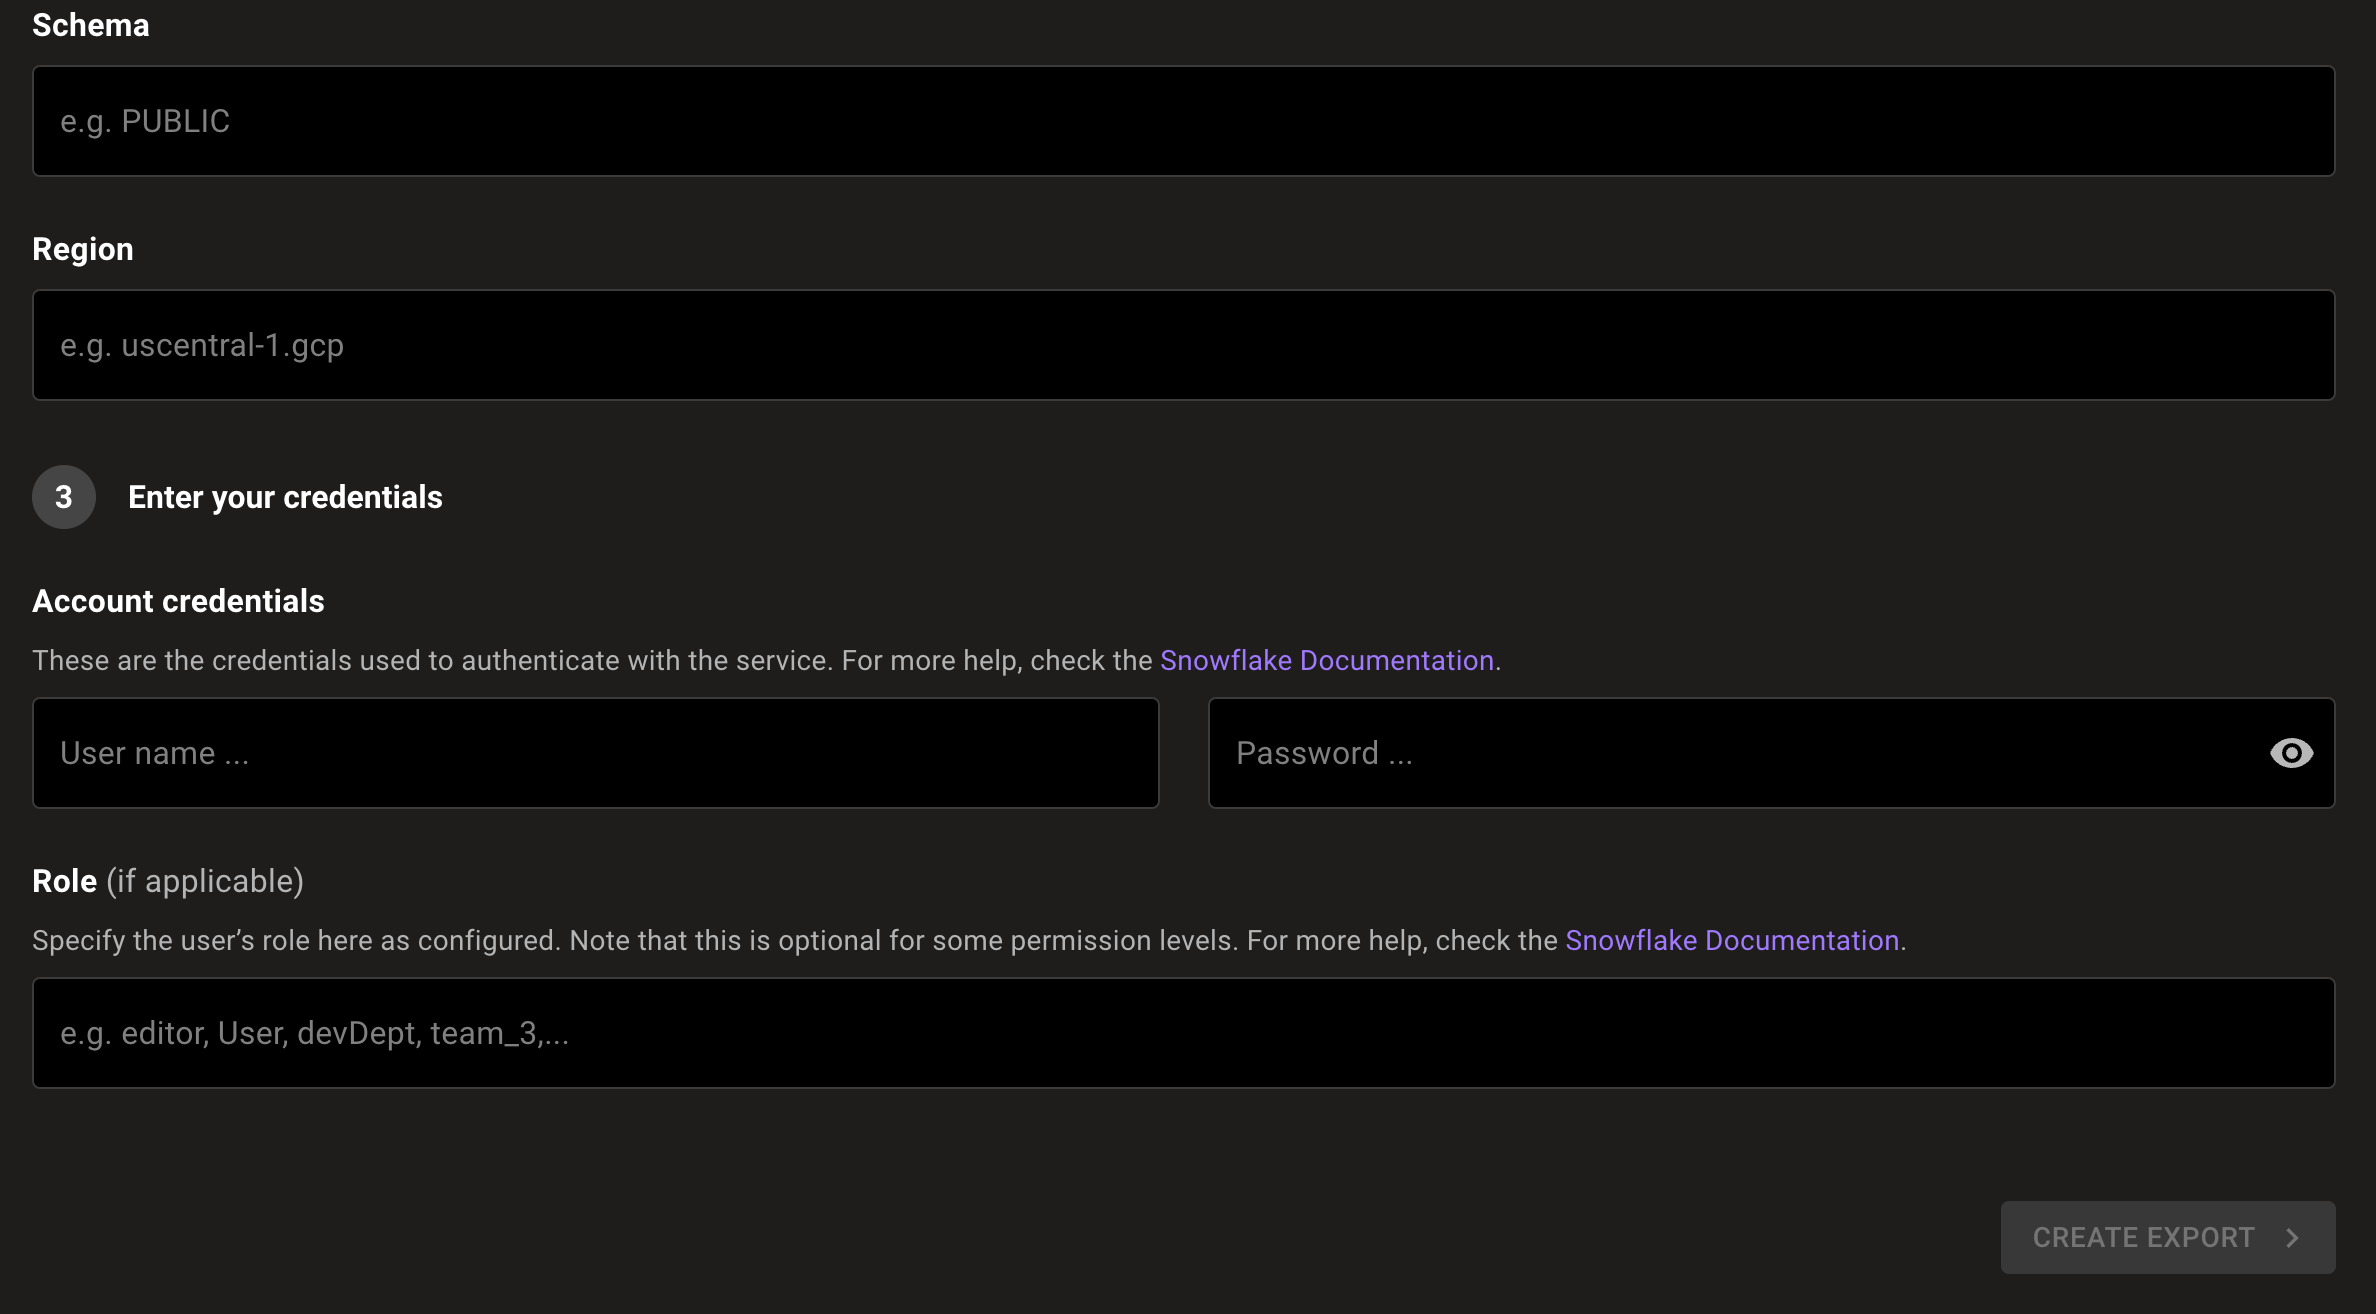
In the Choose an integration name box, enter a name for the integration. Make it a name that lets you easily recognize the Snowflake data warehouse.
-
In the Snowflake Account ID box, enter the account's Locator value. To learn more, read the Find your Snowflake account ID and region ID section above.
-
In the Database box, enter the name of the database to which you want to export Mondoo data.
-
In the Warehouse box, enter the name of the warehouse to which you want to export Mondoo data.
-
In the Schema box, enter the name of the schema to use for the export.
-
In the Region box, enter the region ID. To learn more, read the Find your Snowflake account ID and region ID section above.
-
Under Account credentials, enter the user name and password for your Snowflake account.
-
If you require a specific role to access the database you've specified, enter that role in the Role box.
-
To complete the integration, select the CREATE INTEGRATION button.
Mondoo begins exporting information from your space. When this initial export completes, the integration status becomes ACTIVE. Mondoo performs an export approximately every 24 hours.
View your Snowflake integration
-
In the side navigation bar, under Integrations, select Snowflake.

-
In the list of Snowflake integrations, select the integration you want to view.
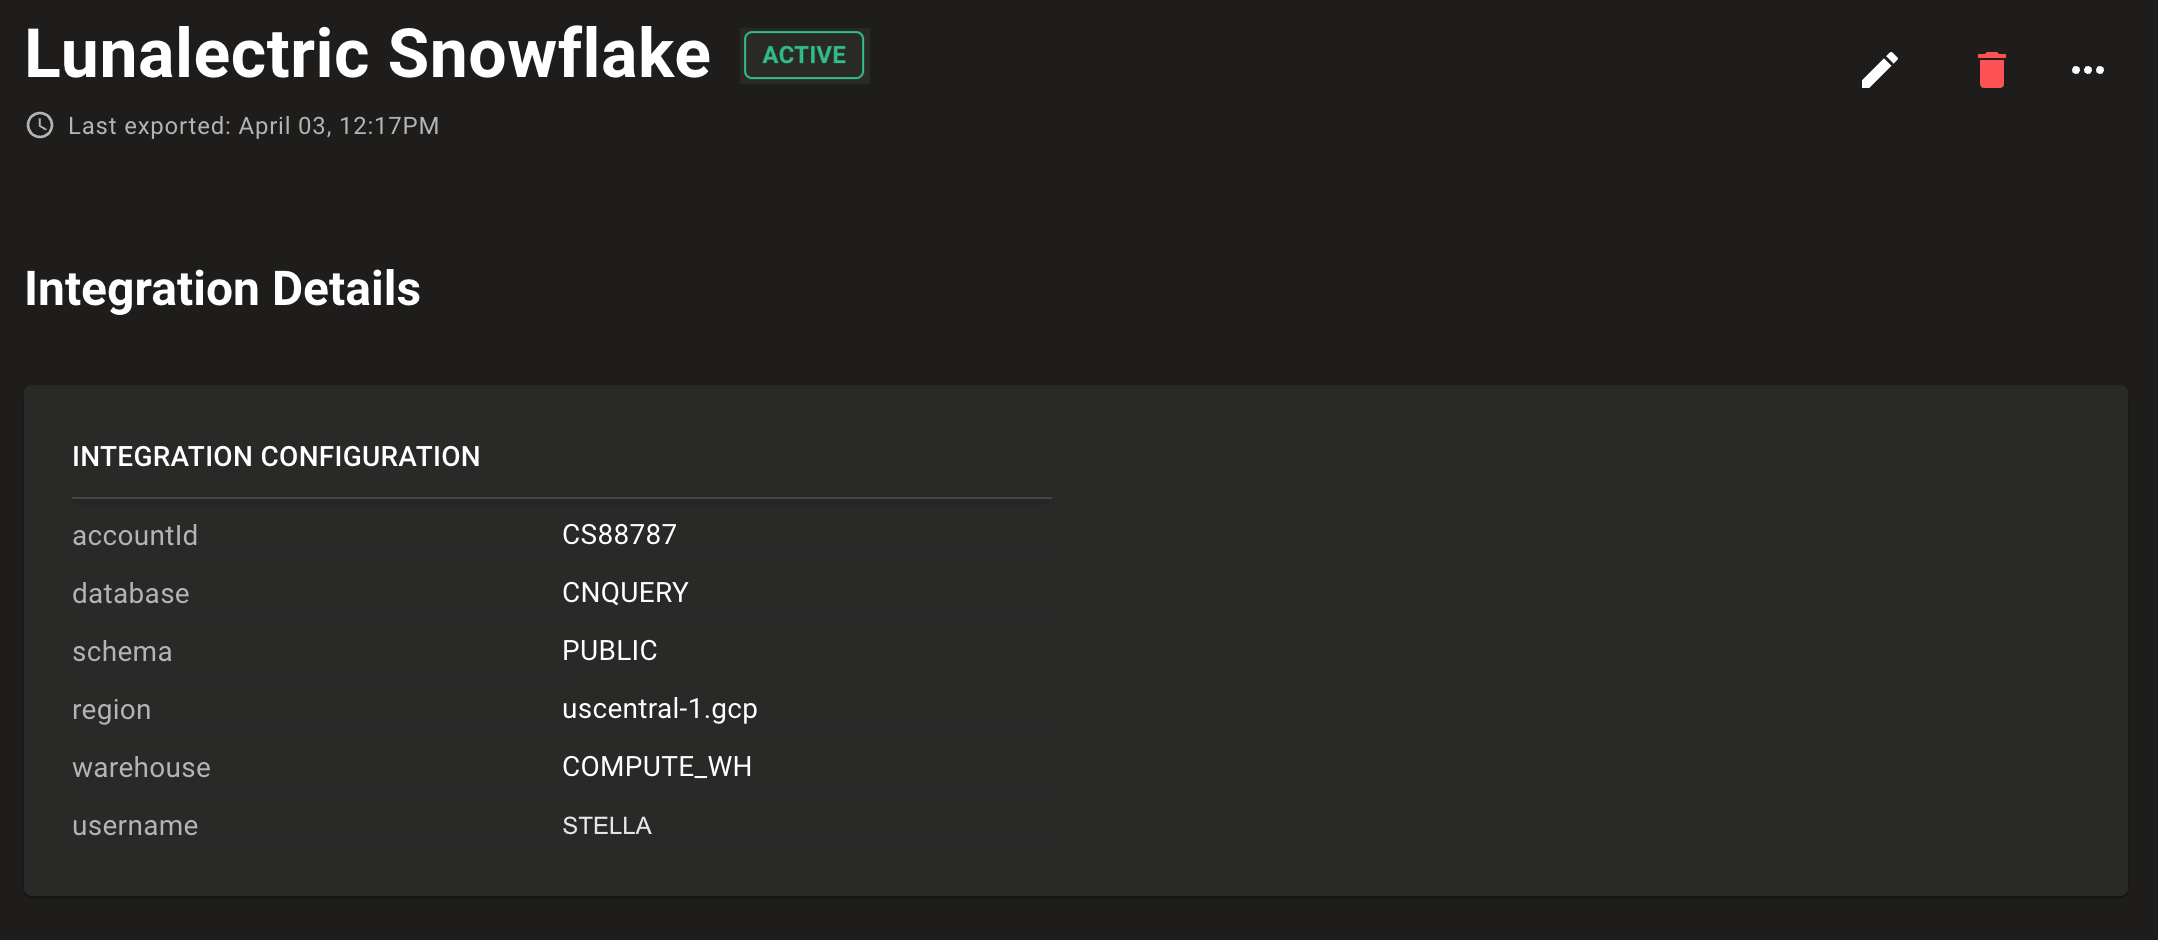
Statuses
The possible statuses for a Snowflake integration are:
- ACTIVE: The integration is active/healthy.
- PENDING: Mondoo has not yet attempted to connect to Snowflake.
- ERROR: Mondoo detected an error during export.
Export data to Snowflake at any time
Mondoo exports your data to Snowflake approximately every 24 hours. You can also manually export data at any time. Use the SCHEDULE NOW button to request an export right away. Mondoo begins the export as soon as possible. If Mondoo is processing a lot of data, there can be some delay until Mondoo has sufficient resources.
Remove an integration
To remove an integration, select the trash can icon. A confirmation prompt displays. Once you confirm the deletion, Mondoo removes the configured integration and stops triggering exports to the Snowflake database.
Mondoo does not delete existing exported data. You must delete the data manually.